How to Prep & Quality Check Your Artwork Files
To get the best possible outcome for your screen-printed or embroidered designs, the format in which you create and send us the files for your artwork is super important. In this blog, we’re not only going to break down but also aid you with the knowledge & tools to quality check and prep your artwork files for screen printing and embroidery.
Our Expectations
When it comes to screen printing & embroidery quality, Threadbird is not one to settle. We don’t just create products- we intentionally give life to our customers' ideas by inventing superior-quality products that help them to grow their business or brand. For us to achieve the best possible print outcome, our team must have quality artwork files to work with.
Quality of Artwork (How We Define Quality)
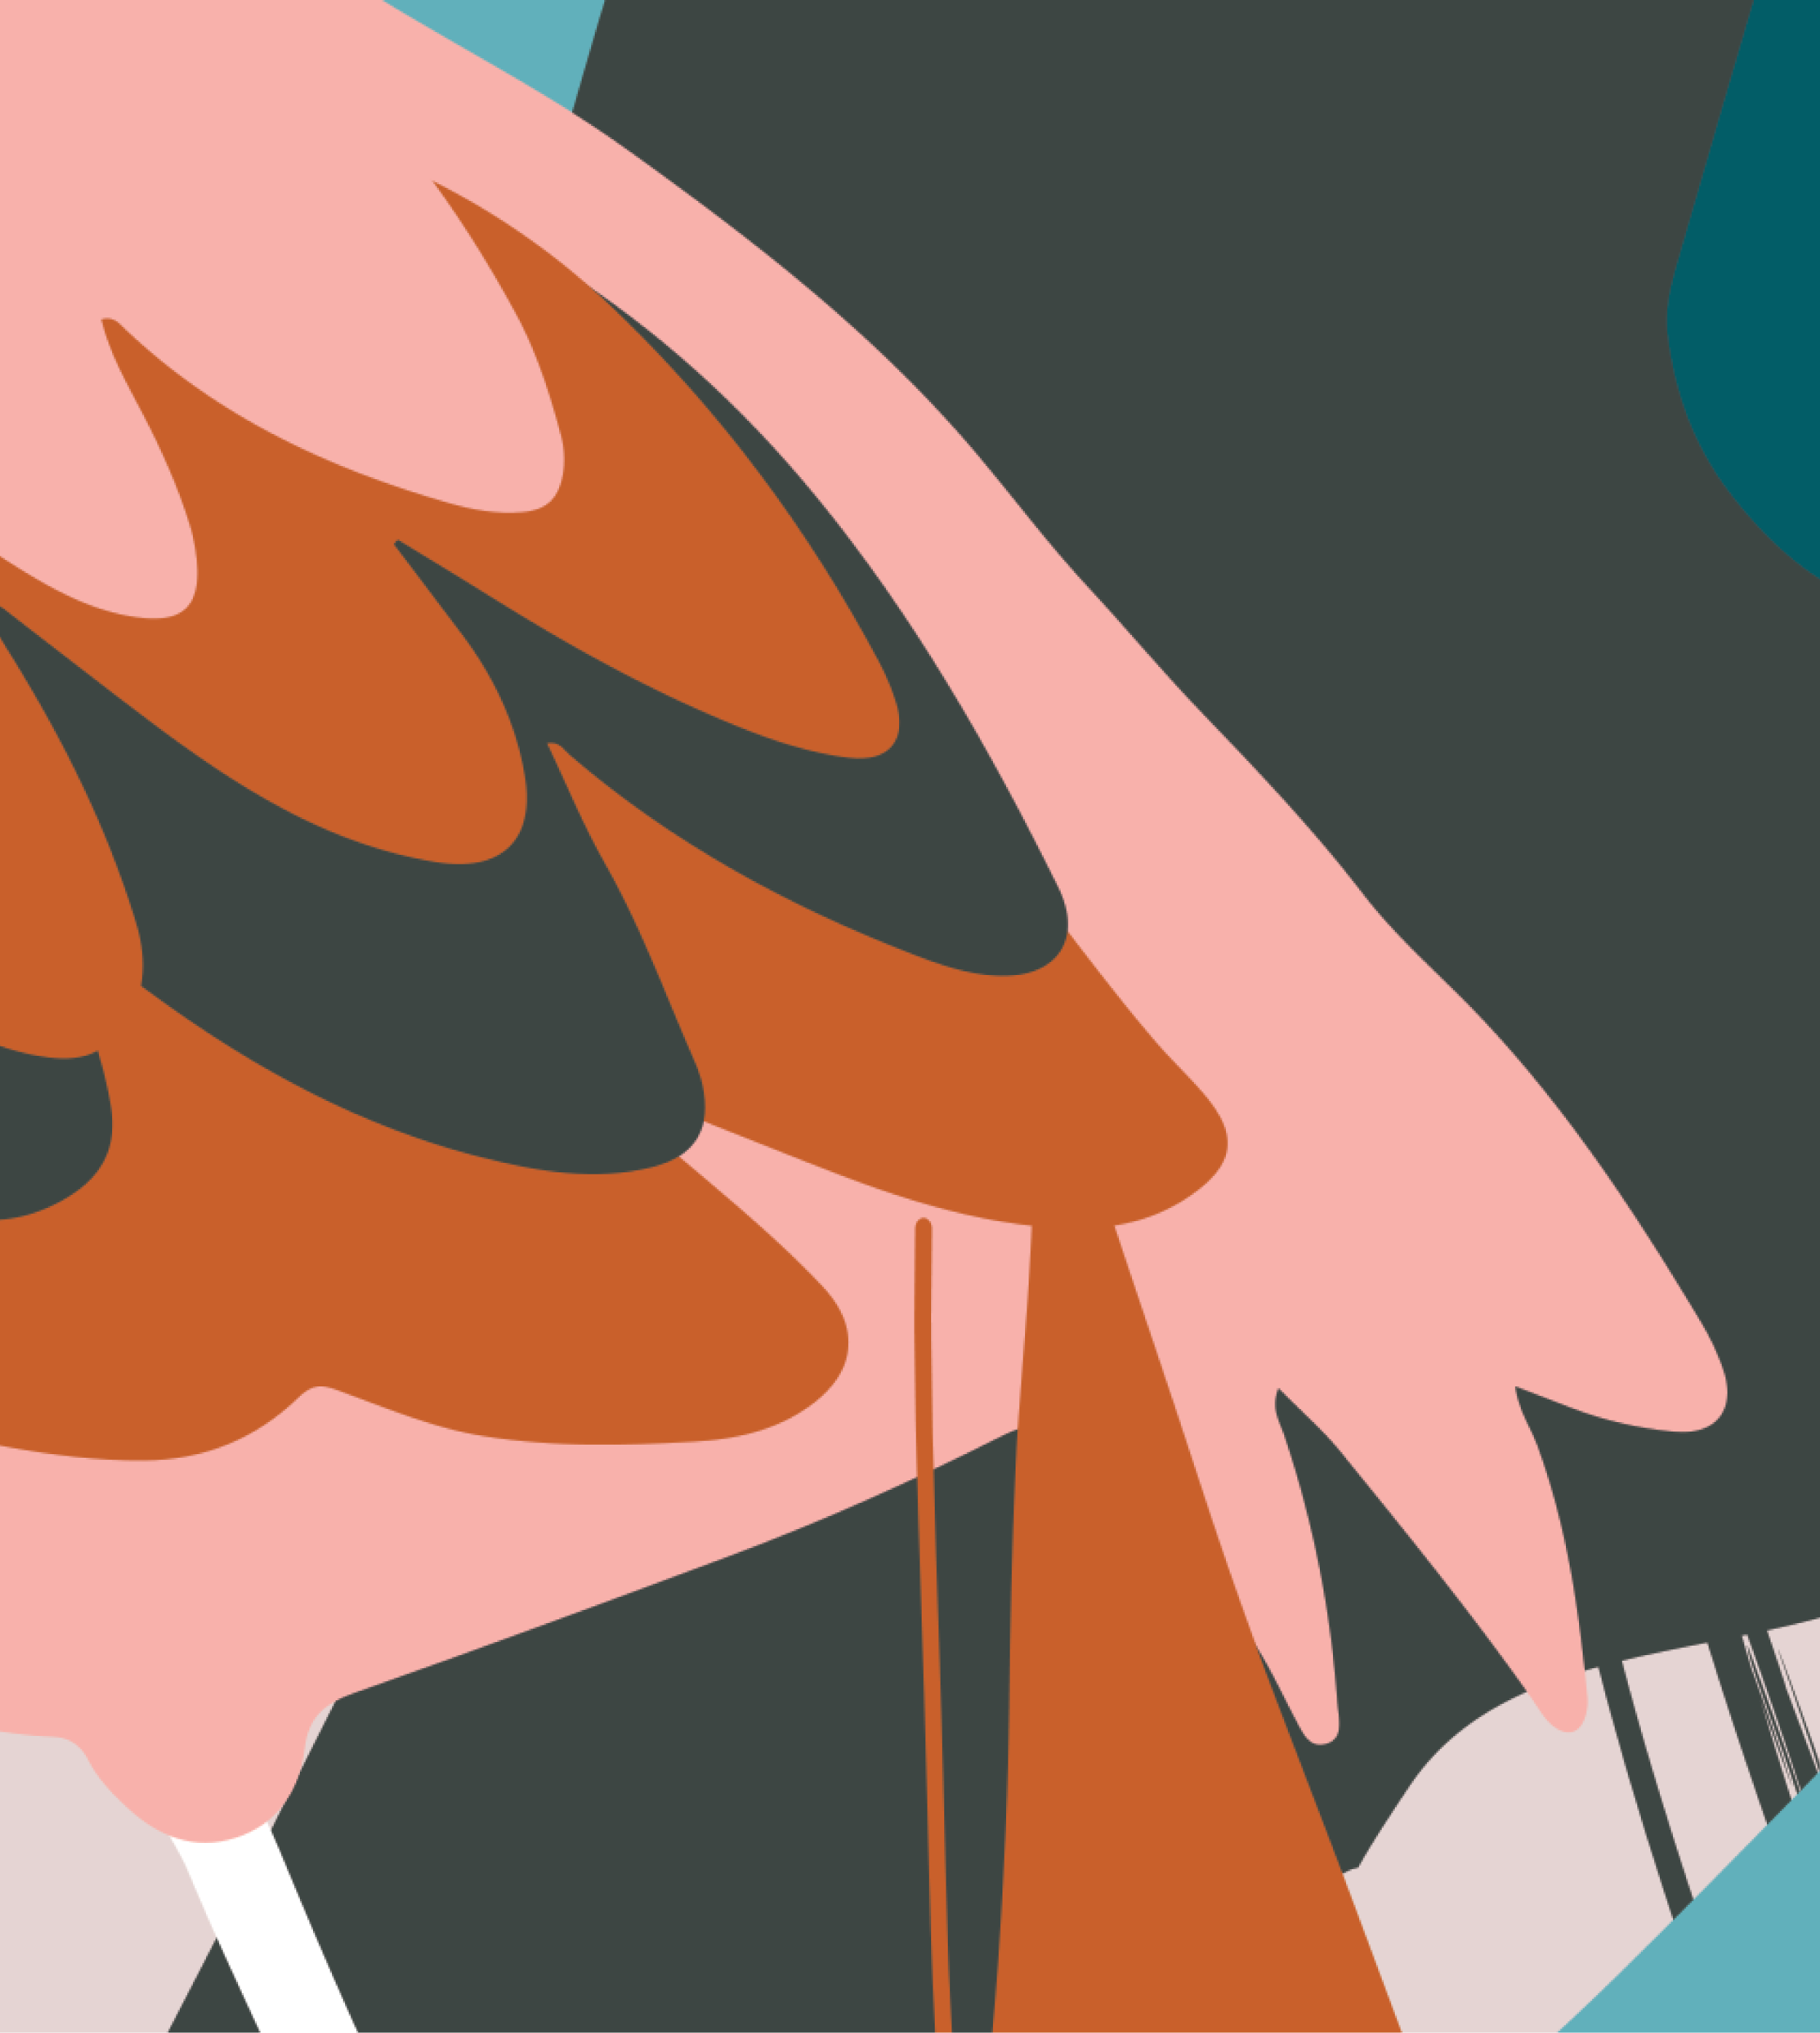
Quality. When talking about artwork, the level of quality essentially means the clarity (or resolution) and smoothness of the original digitized design. To determine the level of smoothness, focus on the design details and elements (shapes, angles) and how clear they appear when zoomed in.
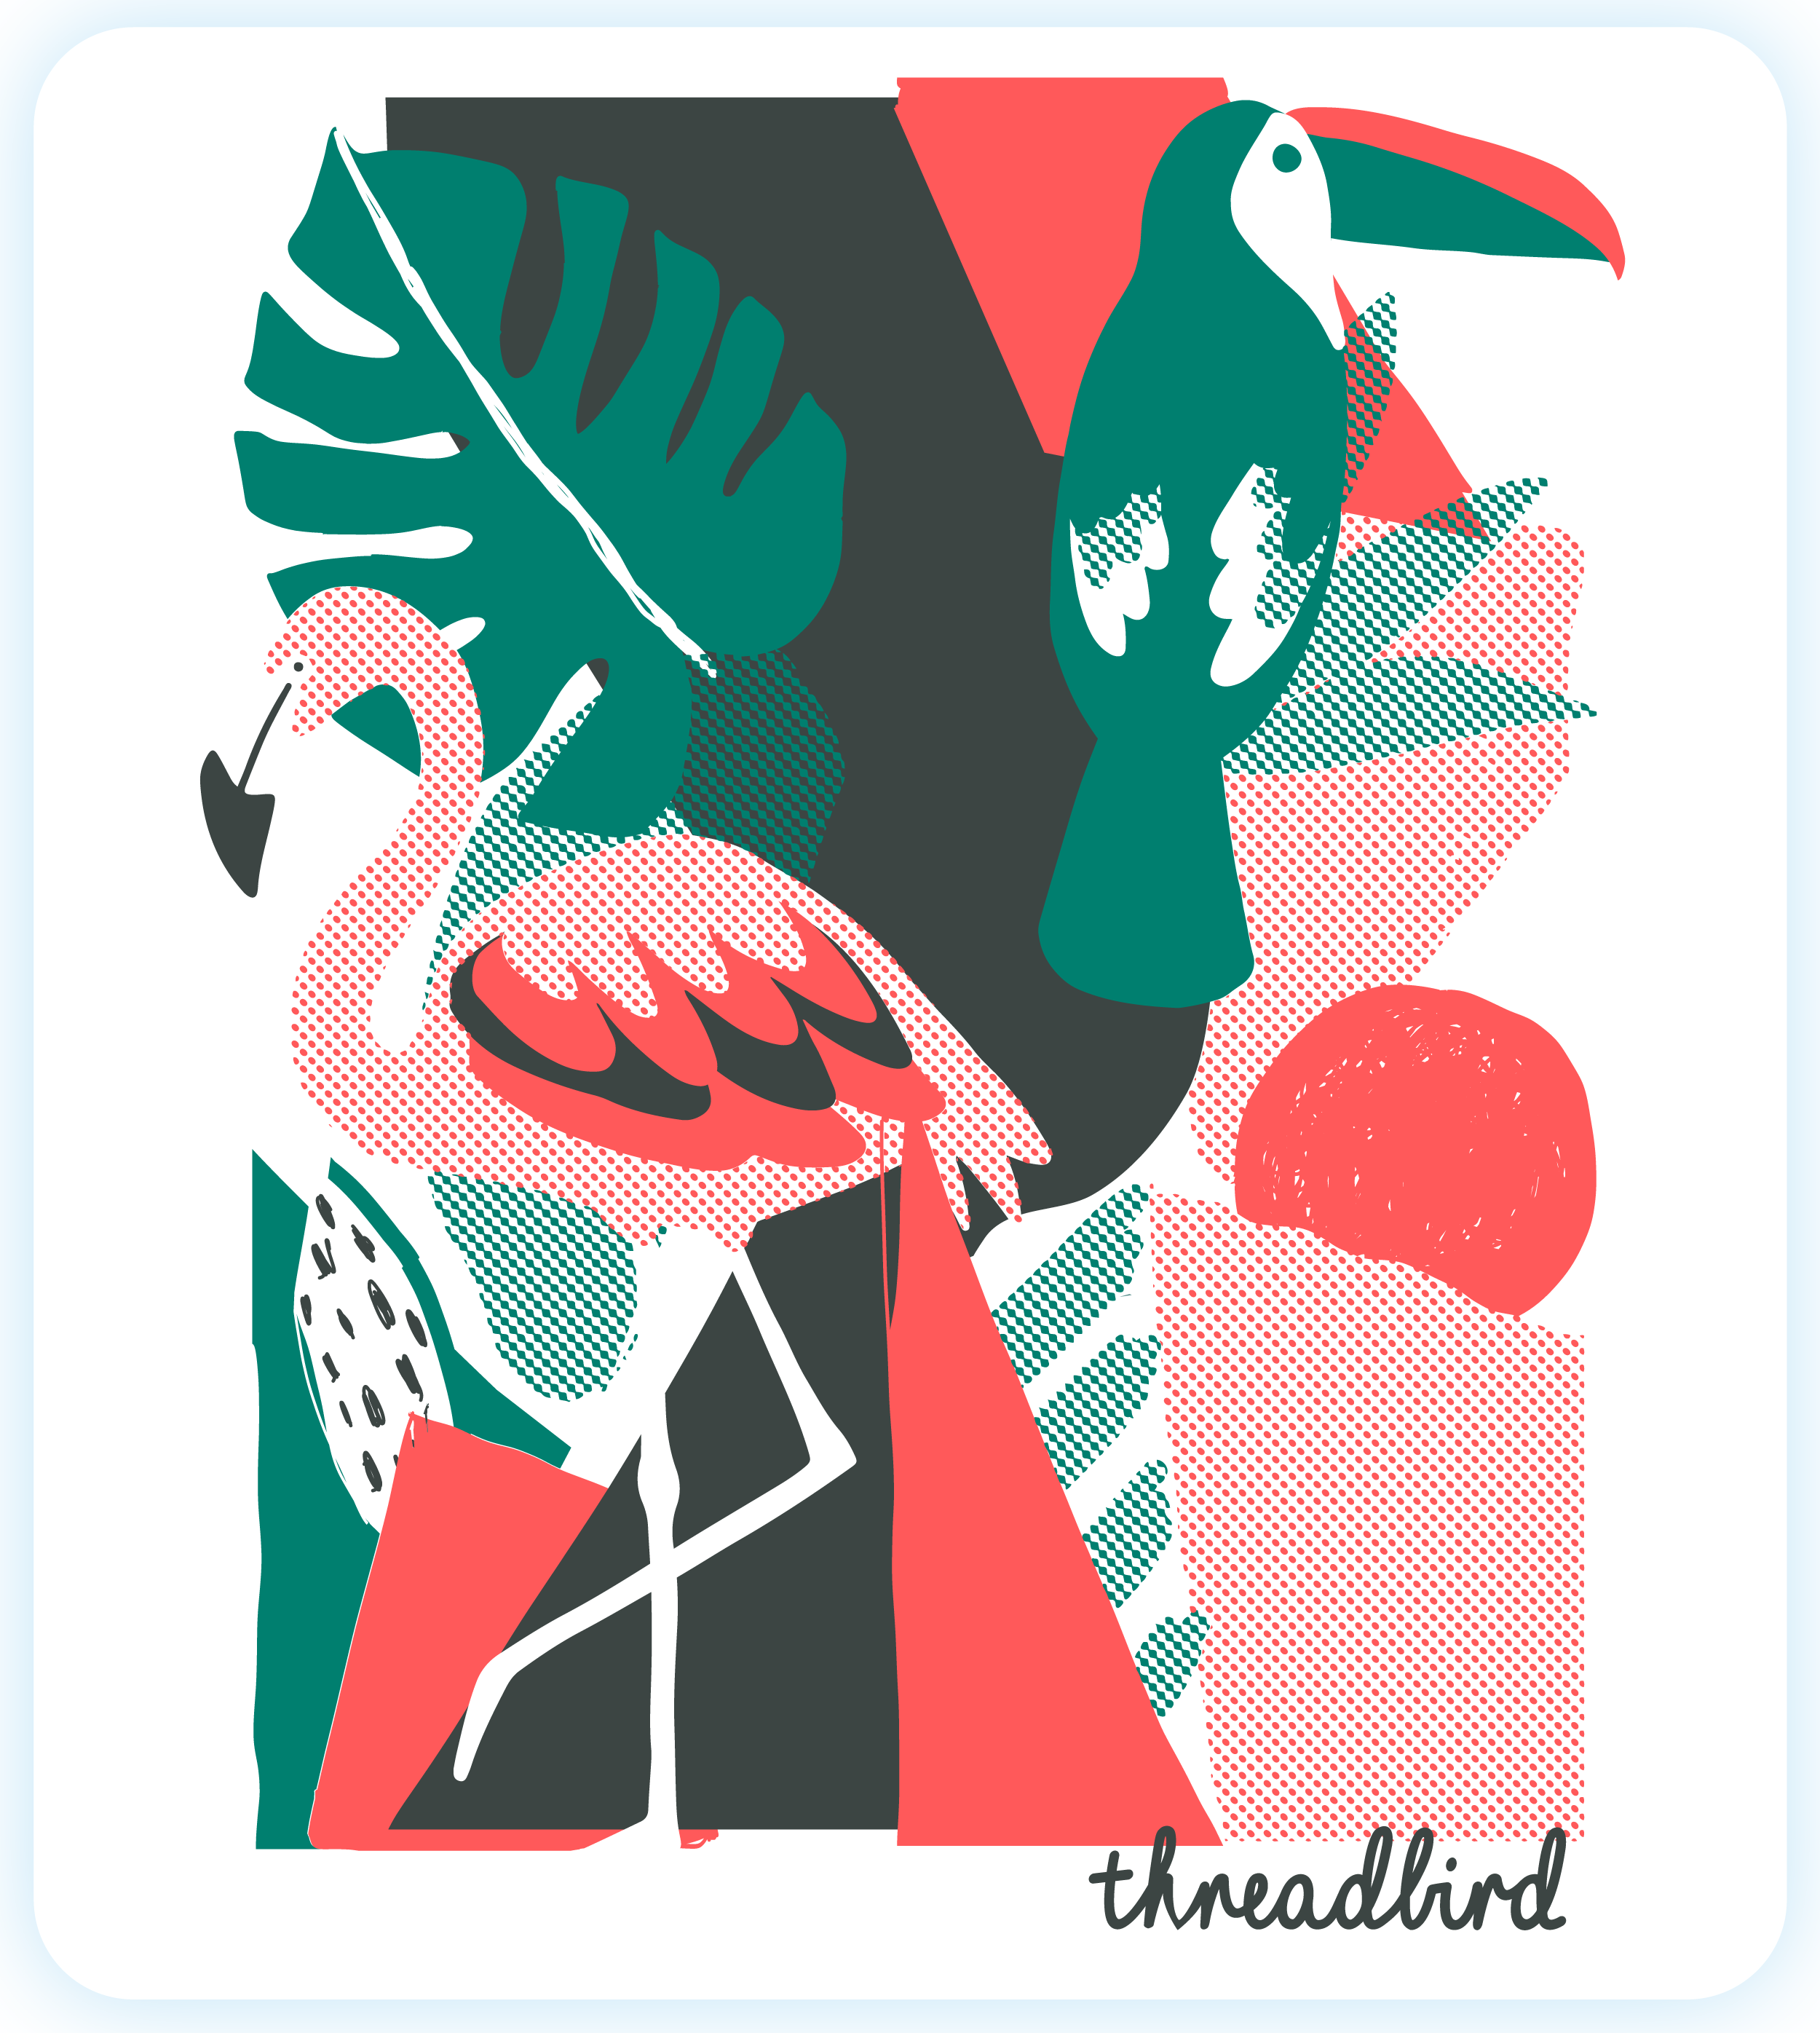
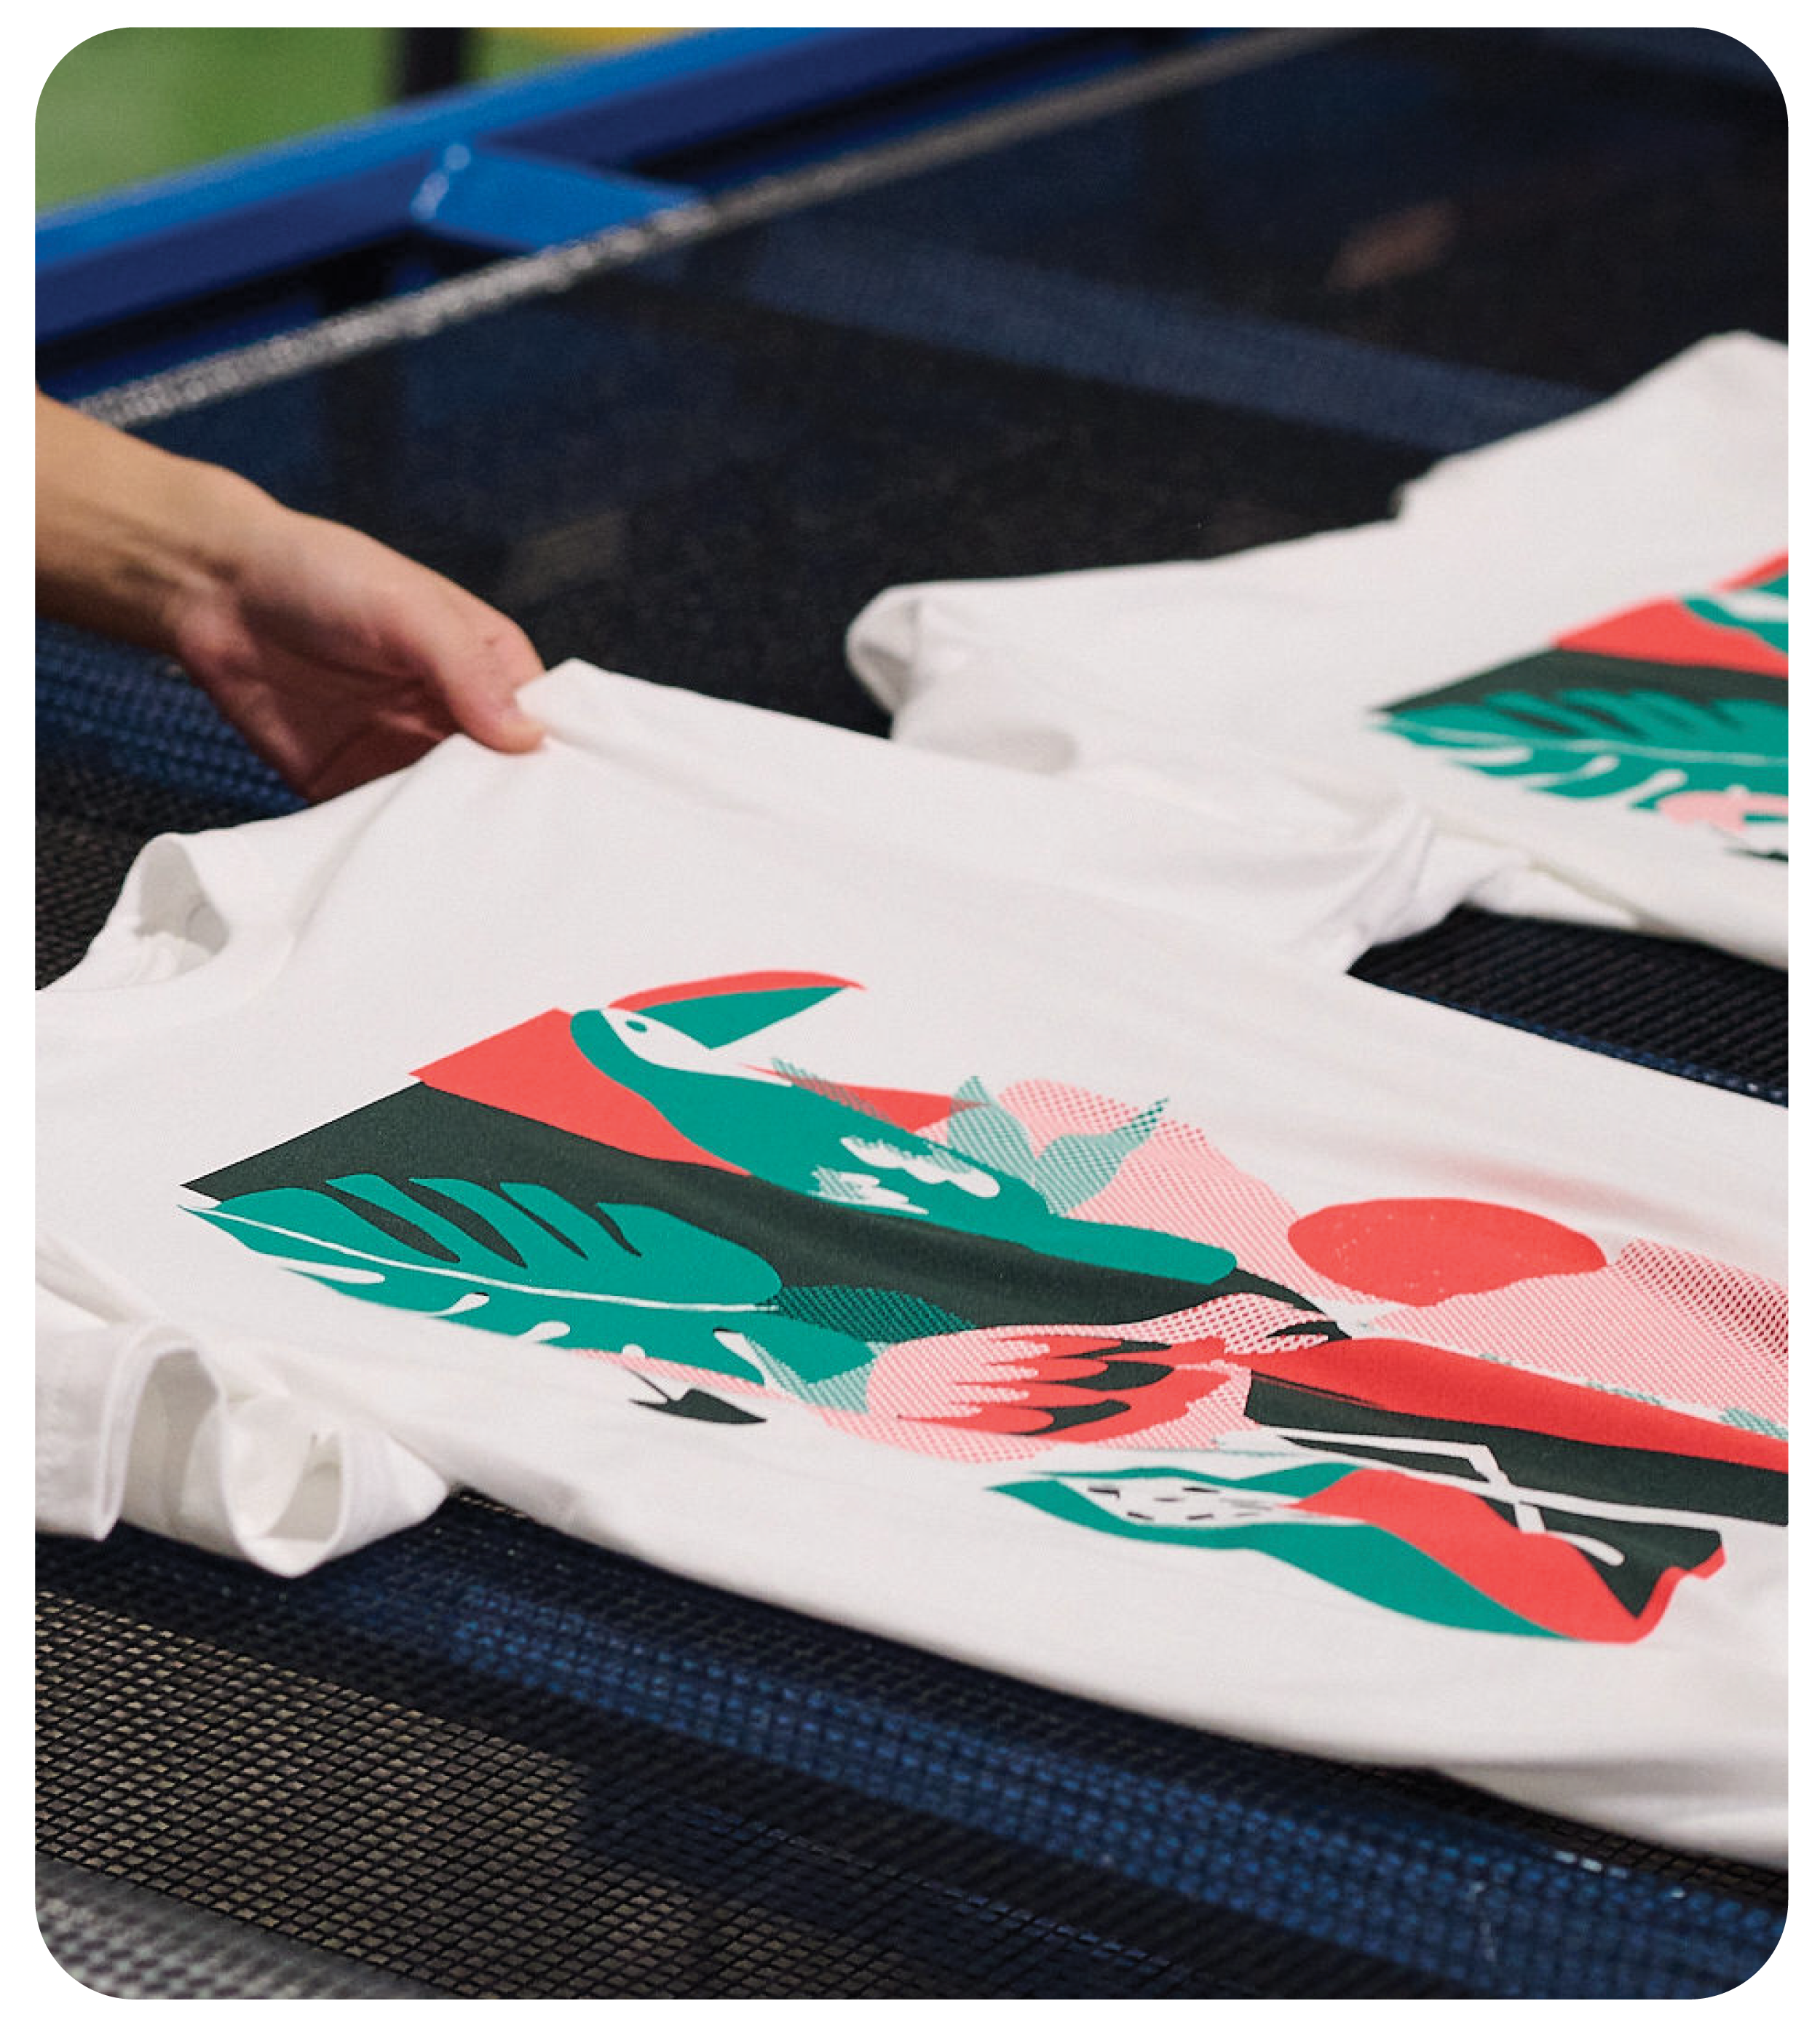
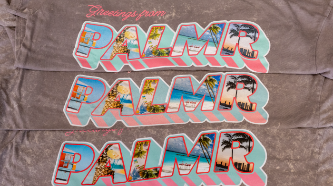
(From Left to Right) You can how this quality art file translates into the final print outcome of this vibrant, screen-printed t-shirt.
Types of Files
Why do we care about the formalities of your artwork files? Because they ultimately dictate the quality of the outcome for your final products. Essentially, this boils down to the two different types of files for artwork: vector & raster graphics.
Vector graphics are digital art that is rendered by a computer and is infinitely scalable without losing quality/resolution, which makes this type ideal for illustrations or design with text and shapes. Whereas, raster images are composed of tiny pixels, and so, the quality of them is dependent on the resolution of the image. Due to this, raster images are ideal when working with artwork that includes photos.
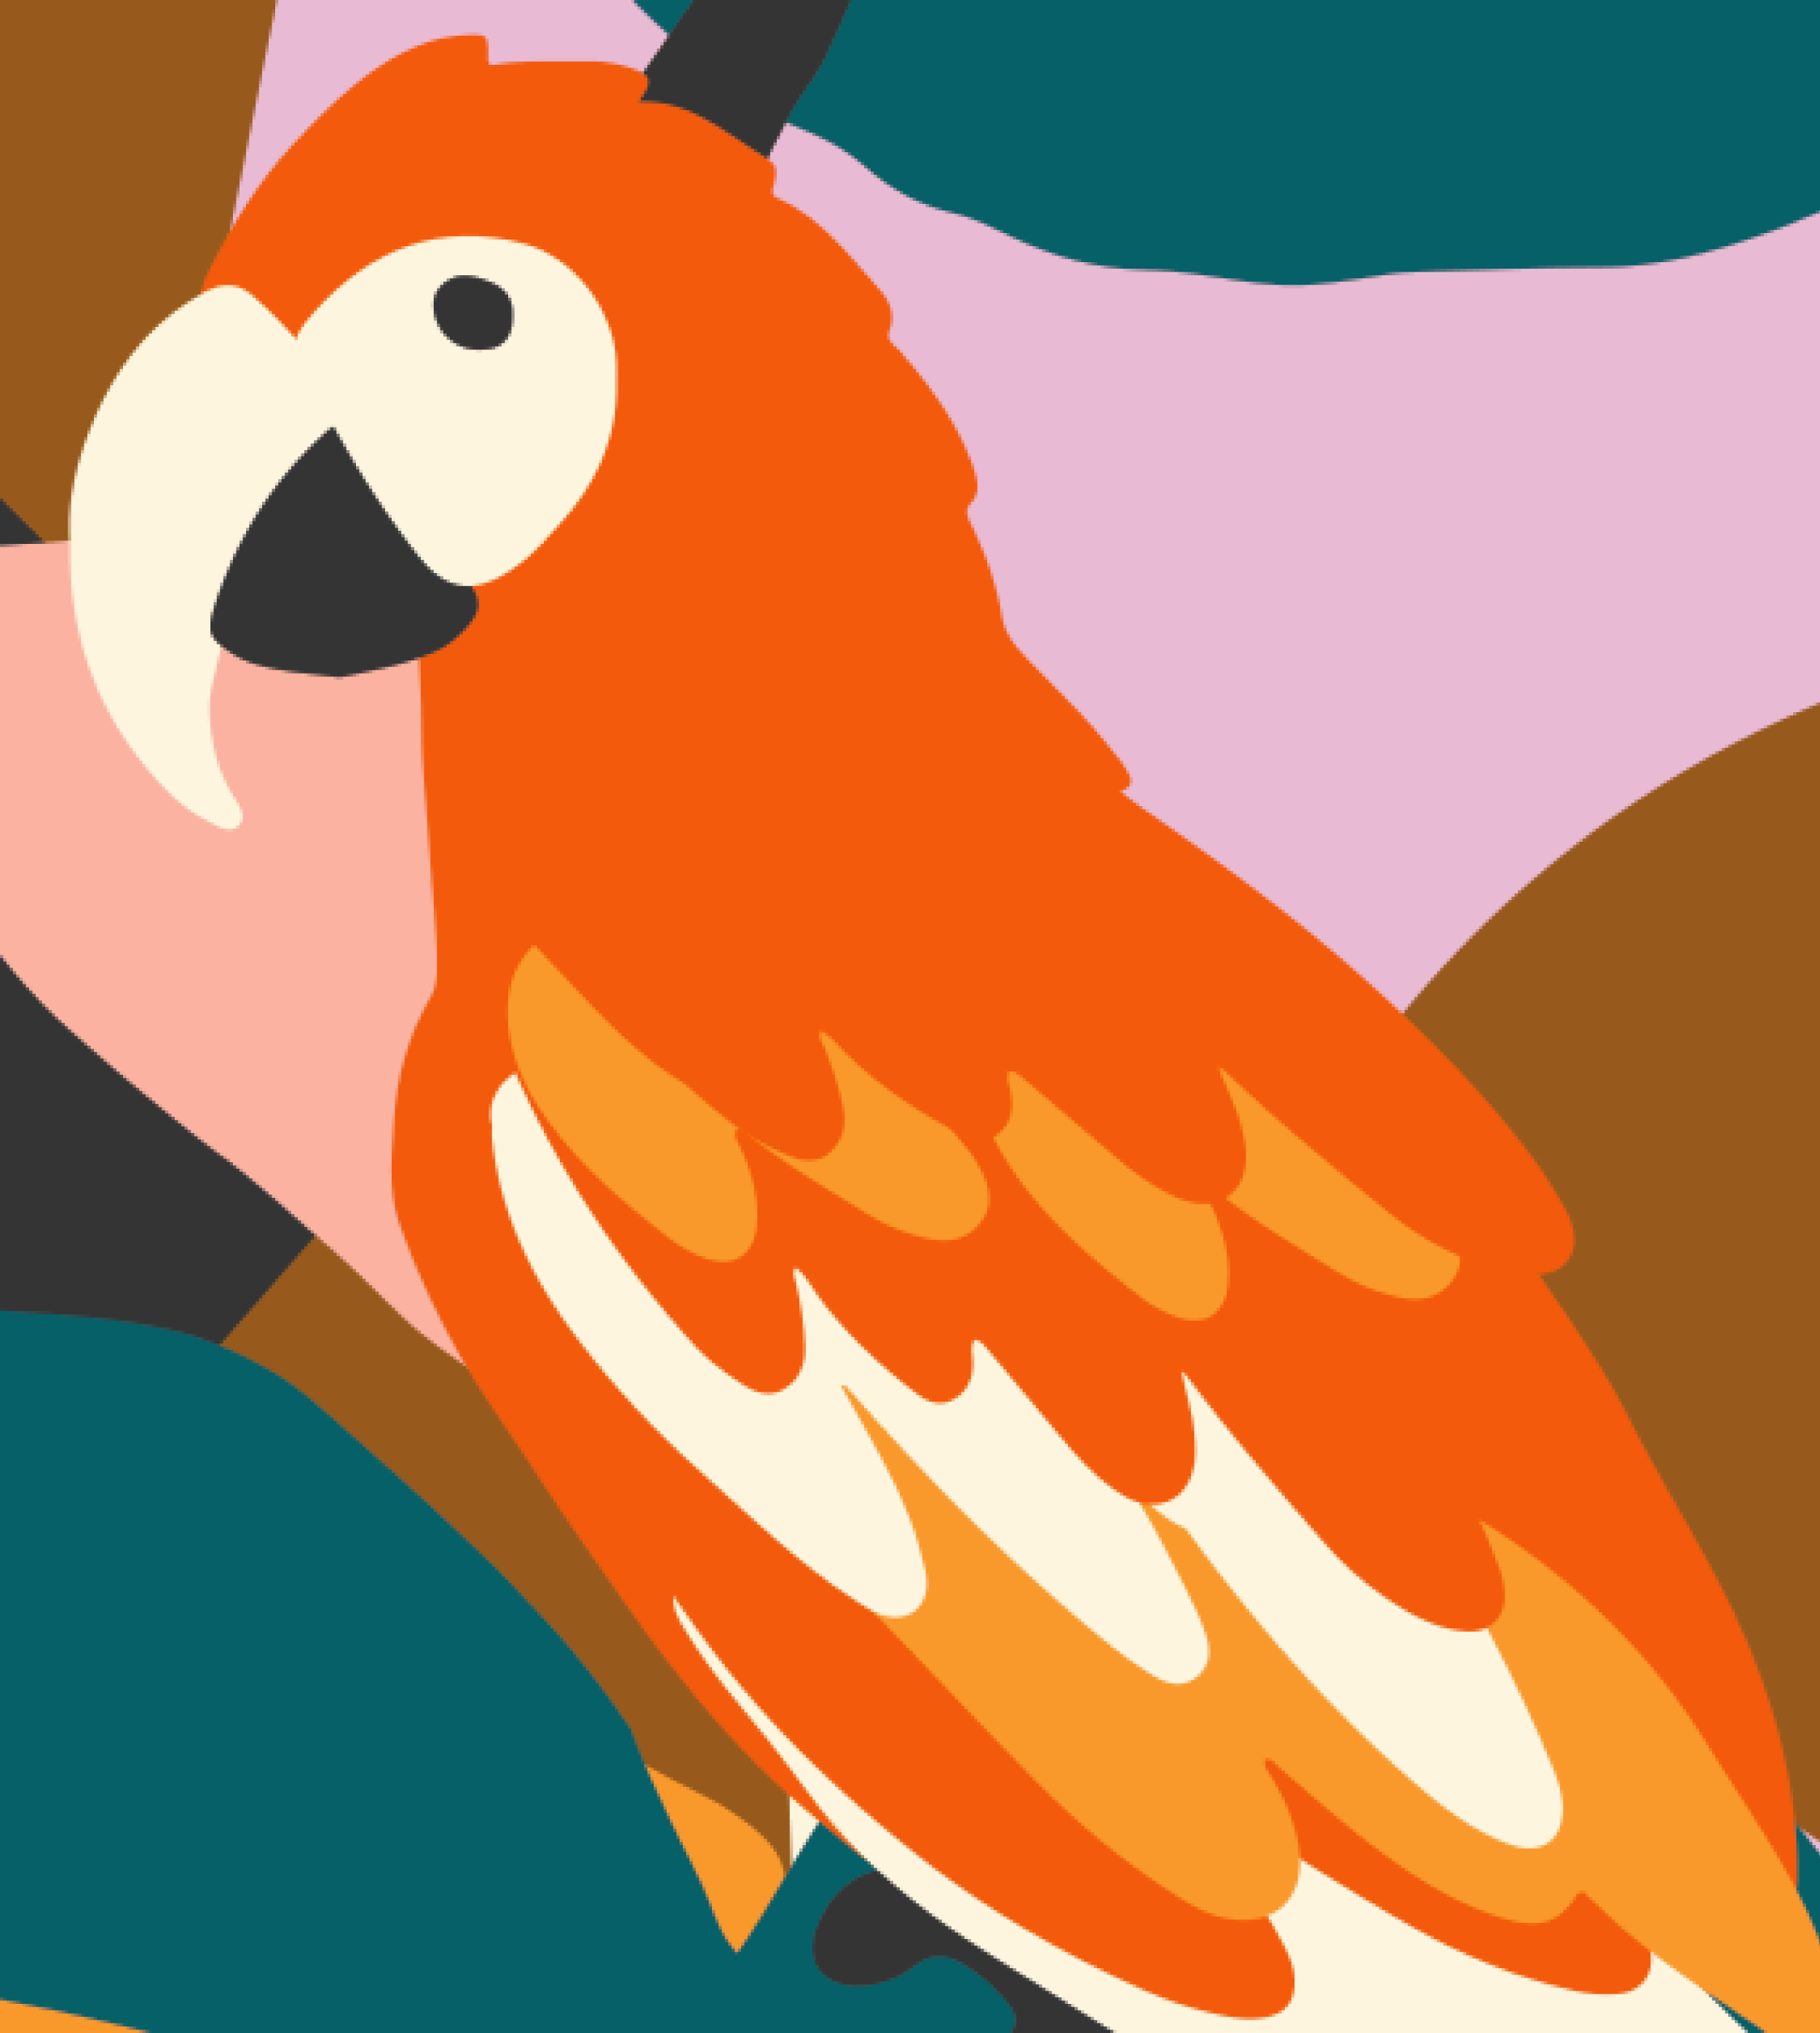
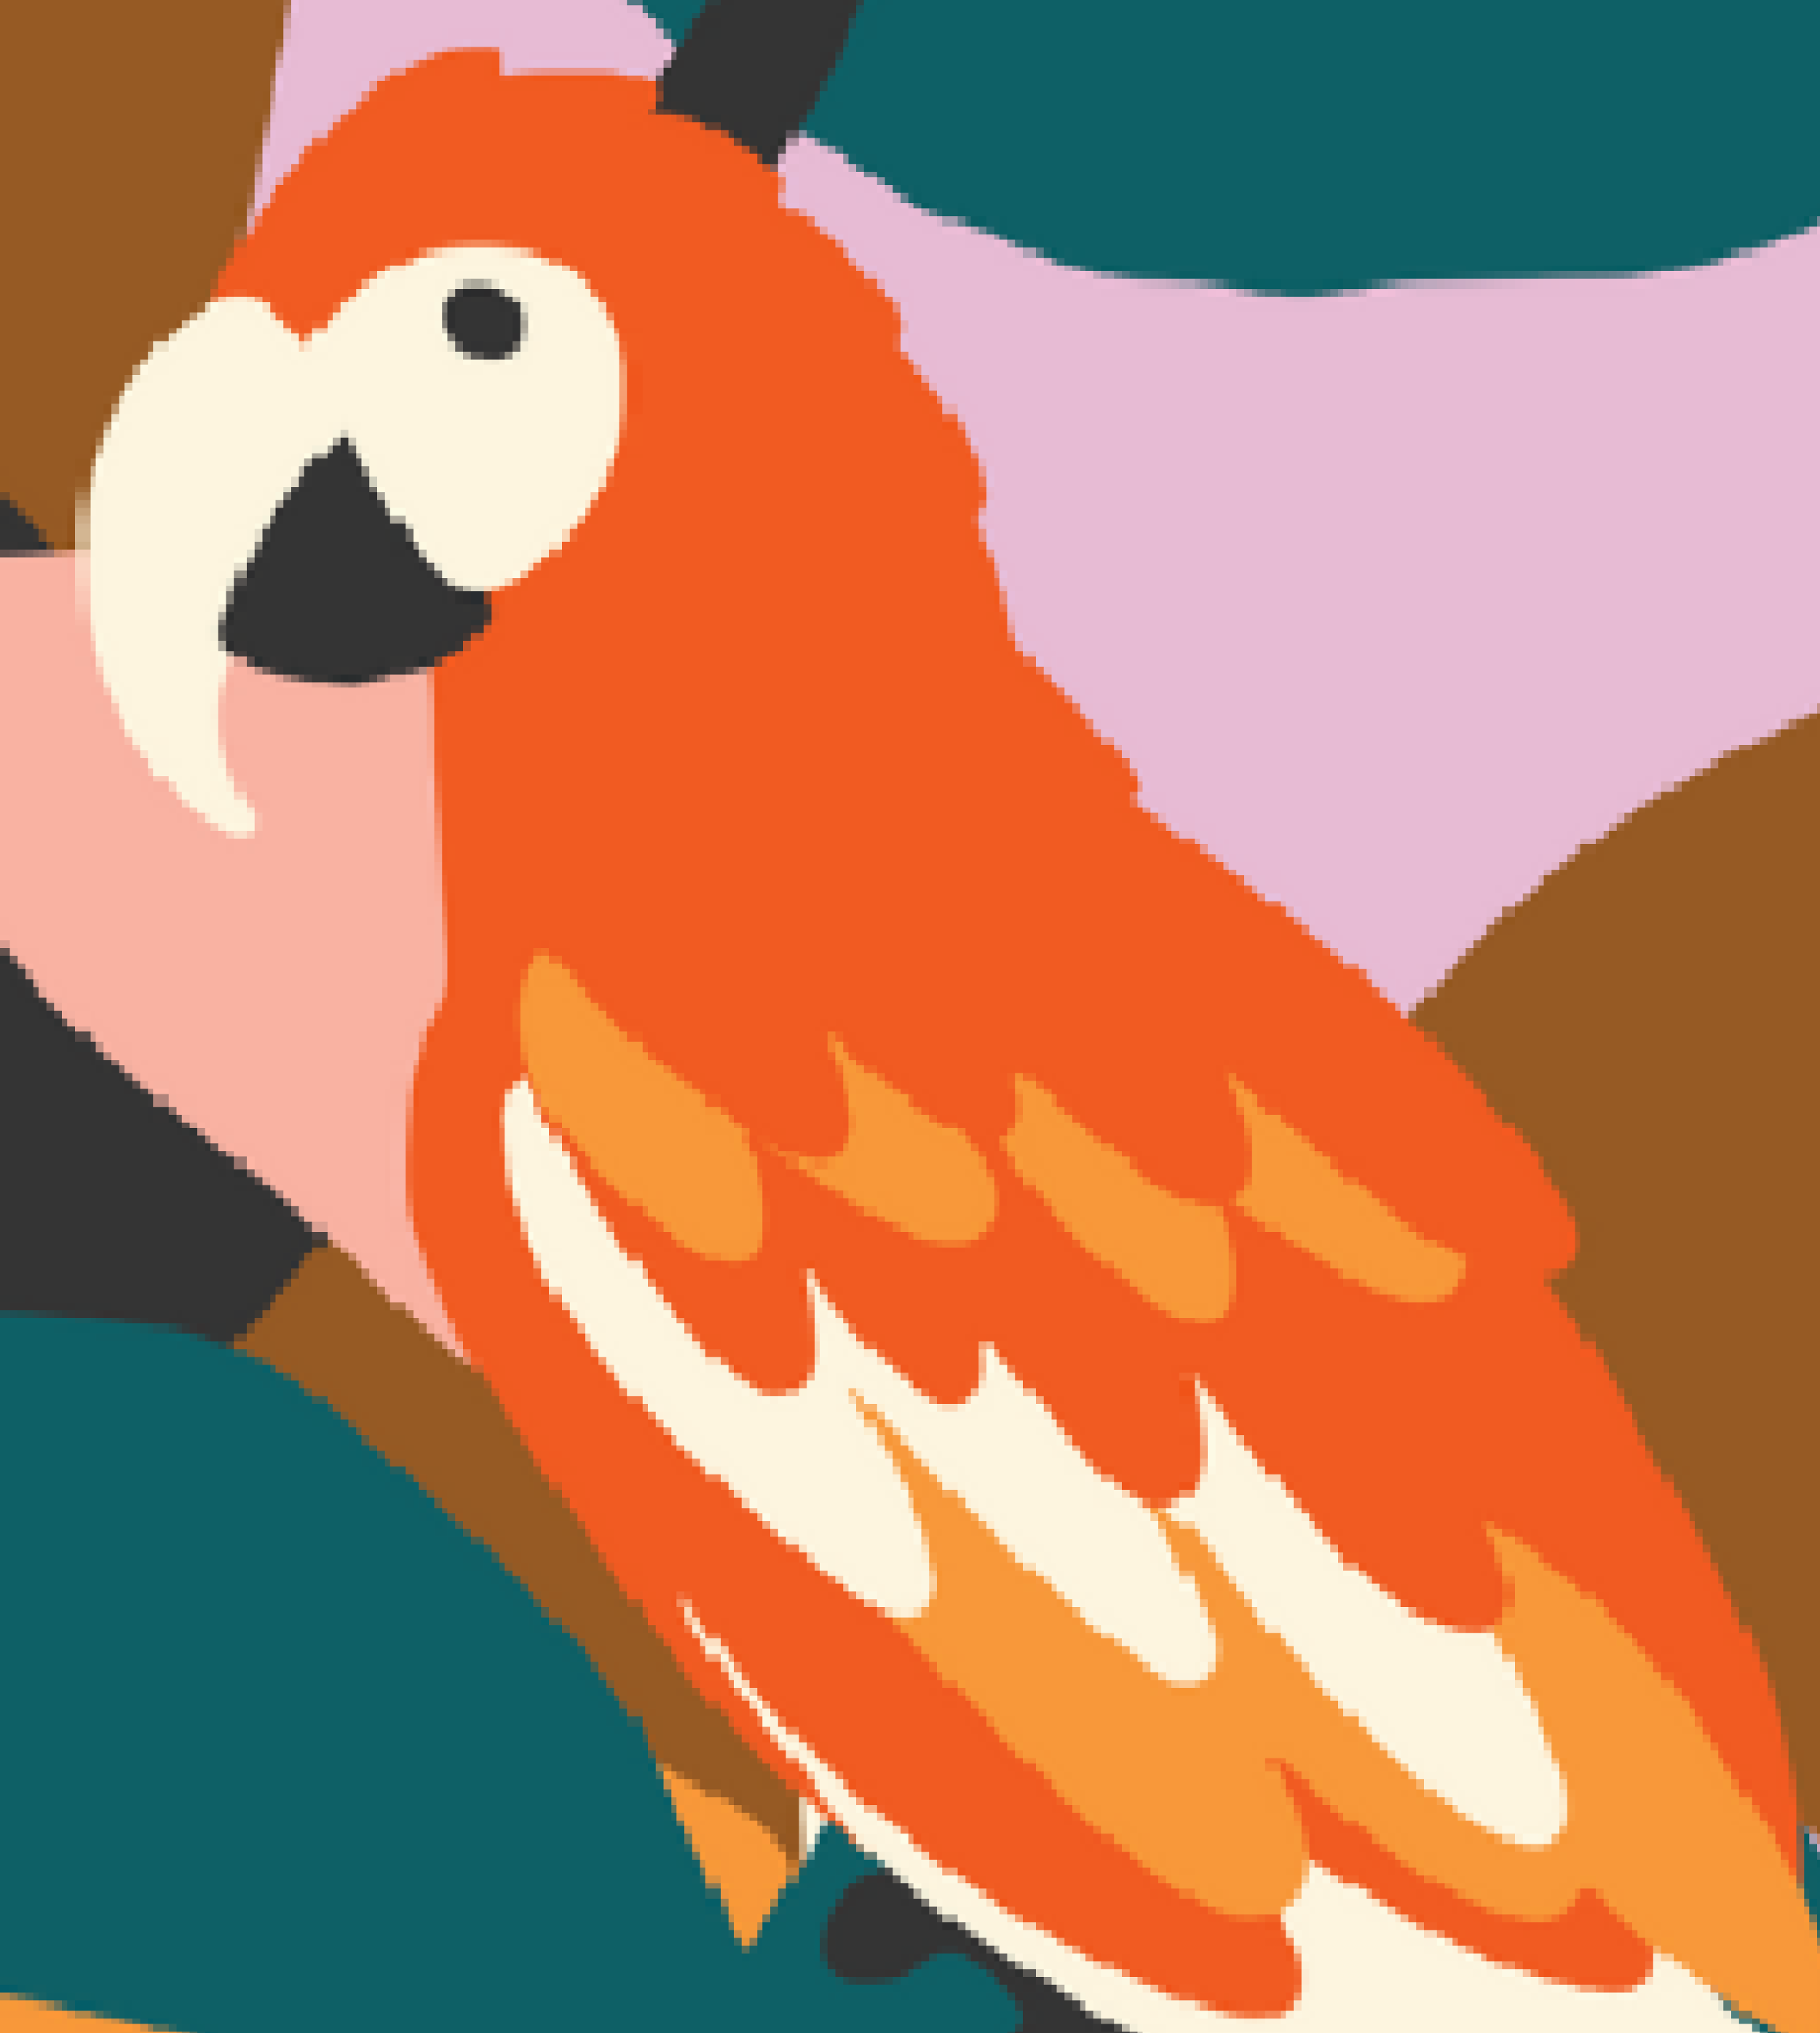
You can see a clear difference in smoothness between a design exported in Illustrator (left) vs. Canva (right).
Which type is better?
Not to play favorites, but vector files are always our preferred type to work with. Given that these files are editable, vector files make it much easier for our design team to make changes (touch-ups, resizing, color changes, etc) to the artwork as needed. Unless you’re working with photographs, it’s best to avoid raster-based programs to prevent distortion or loss of quality.
Creating & Exporting Your Designs
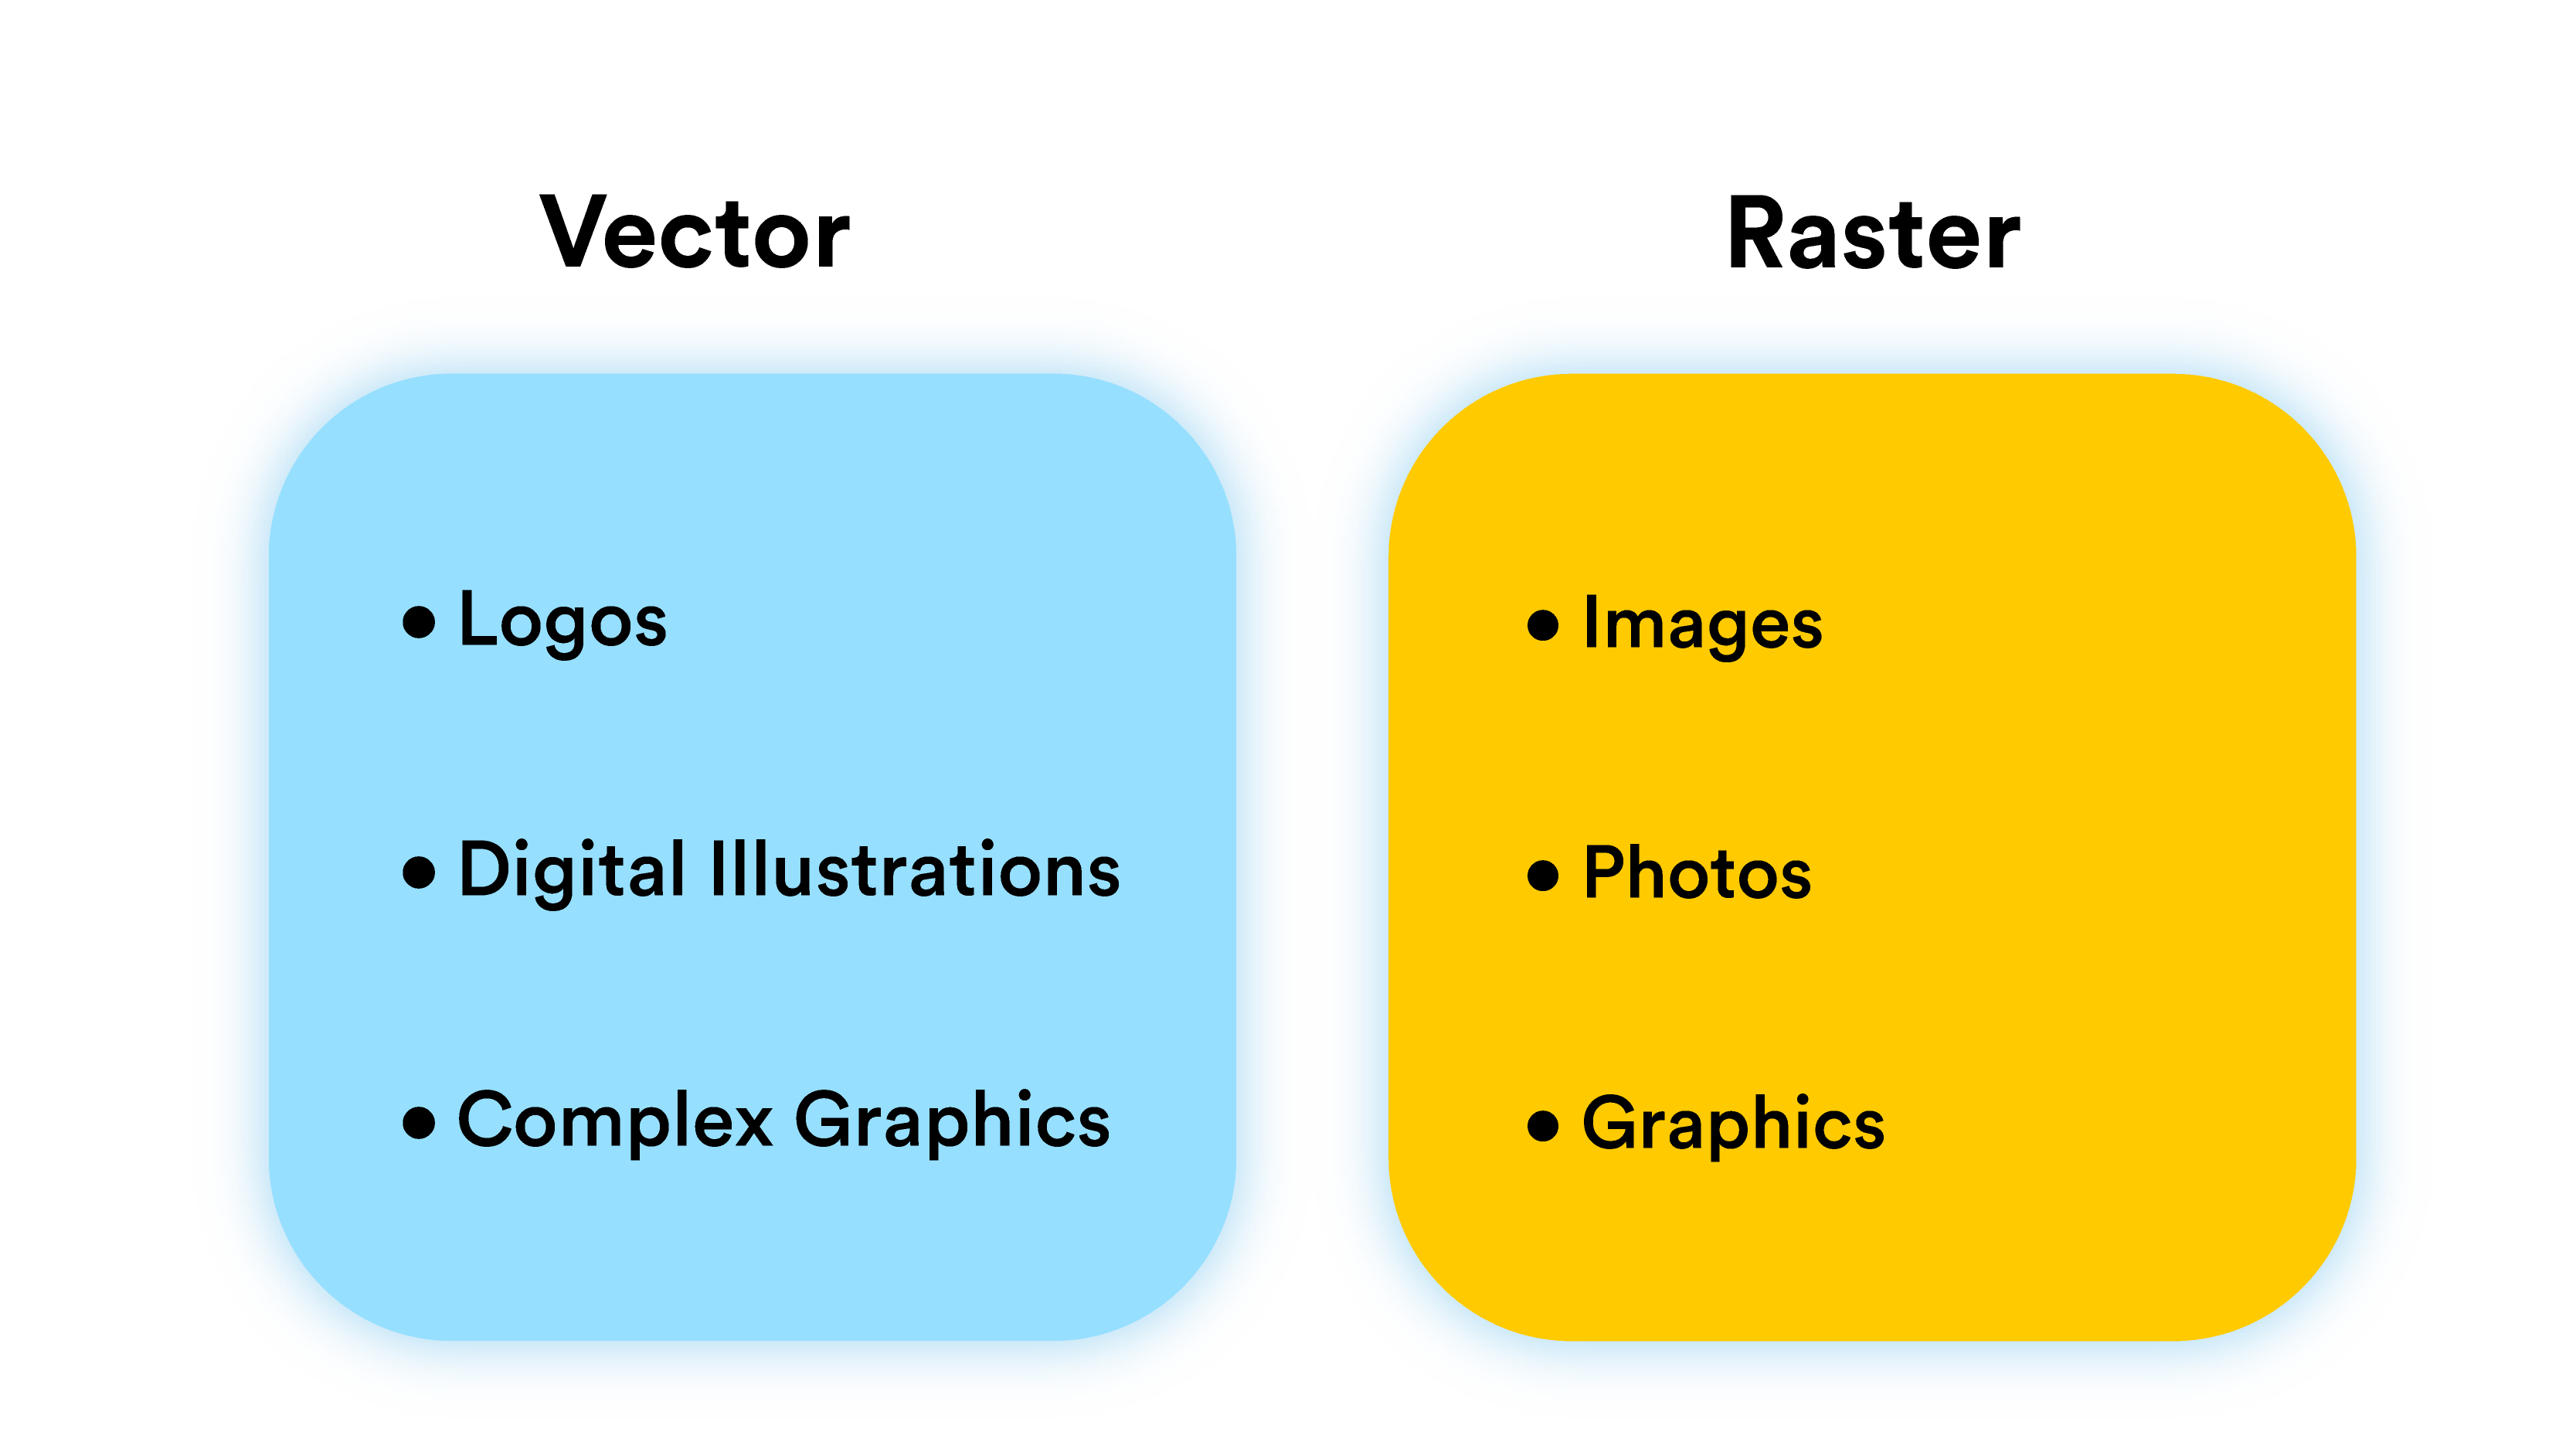
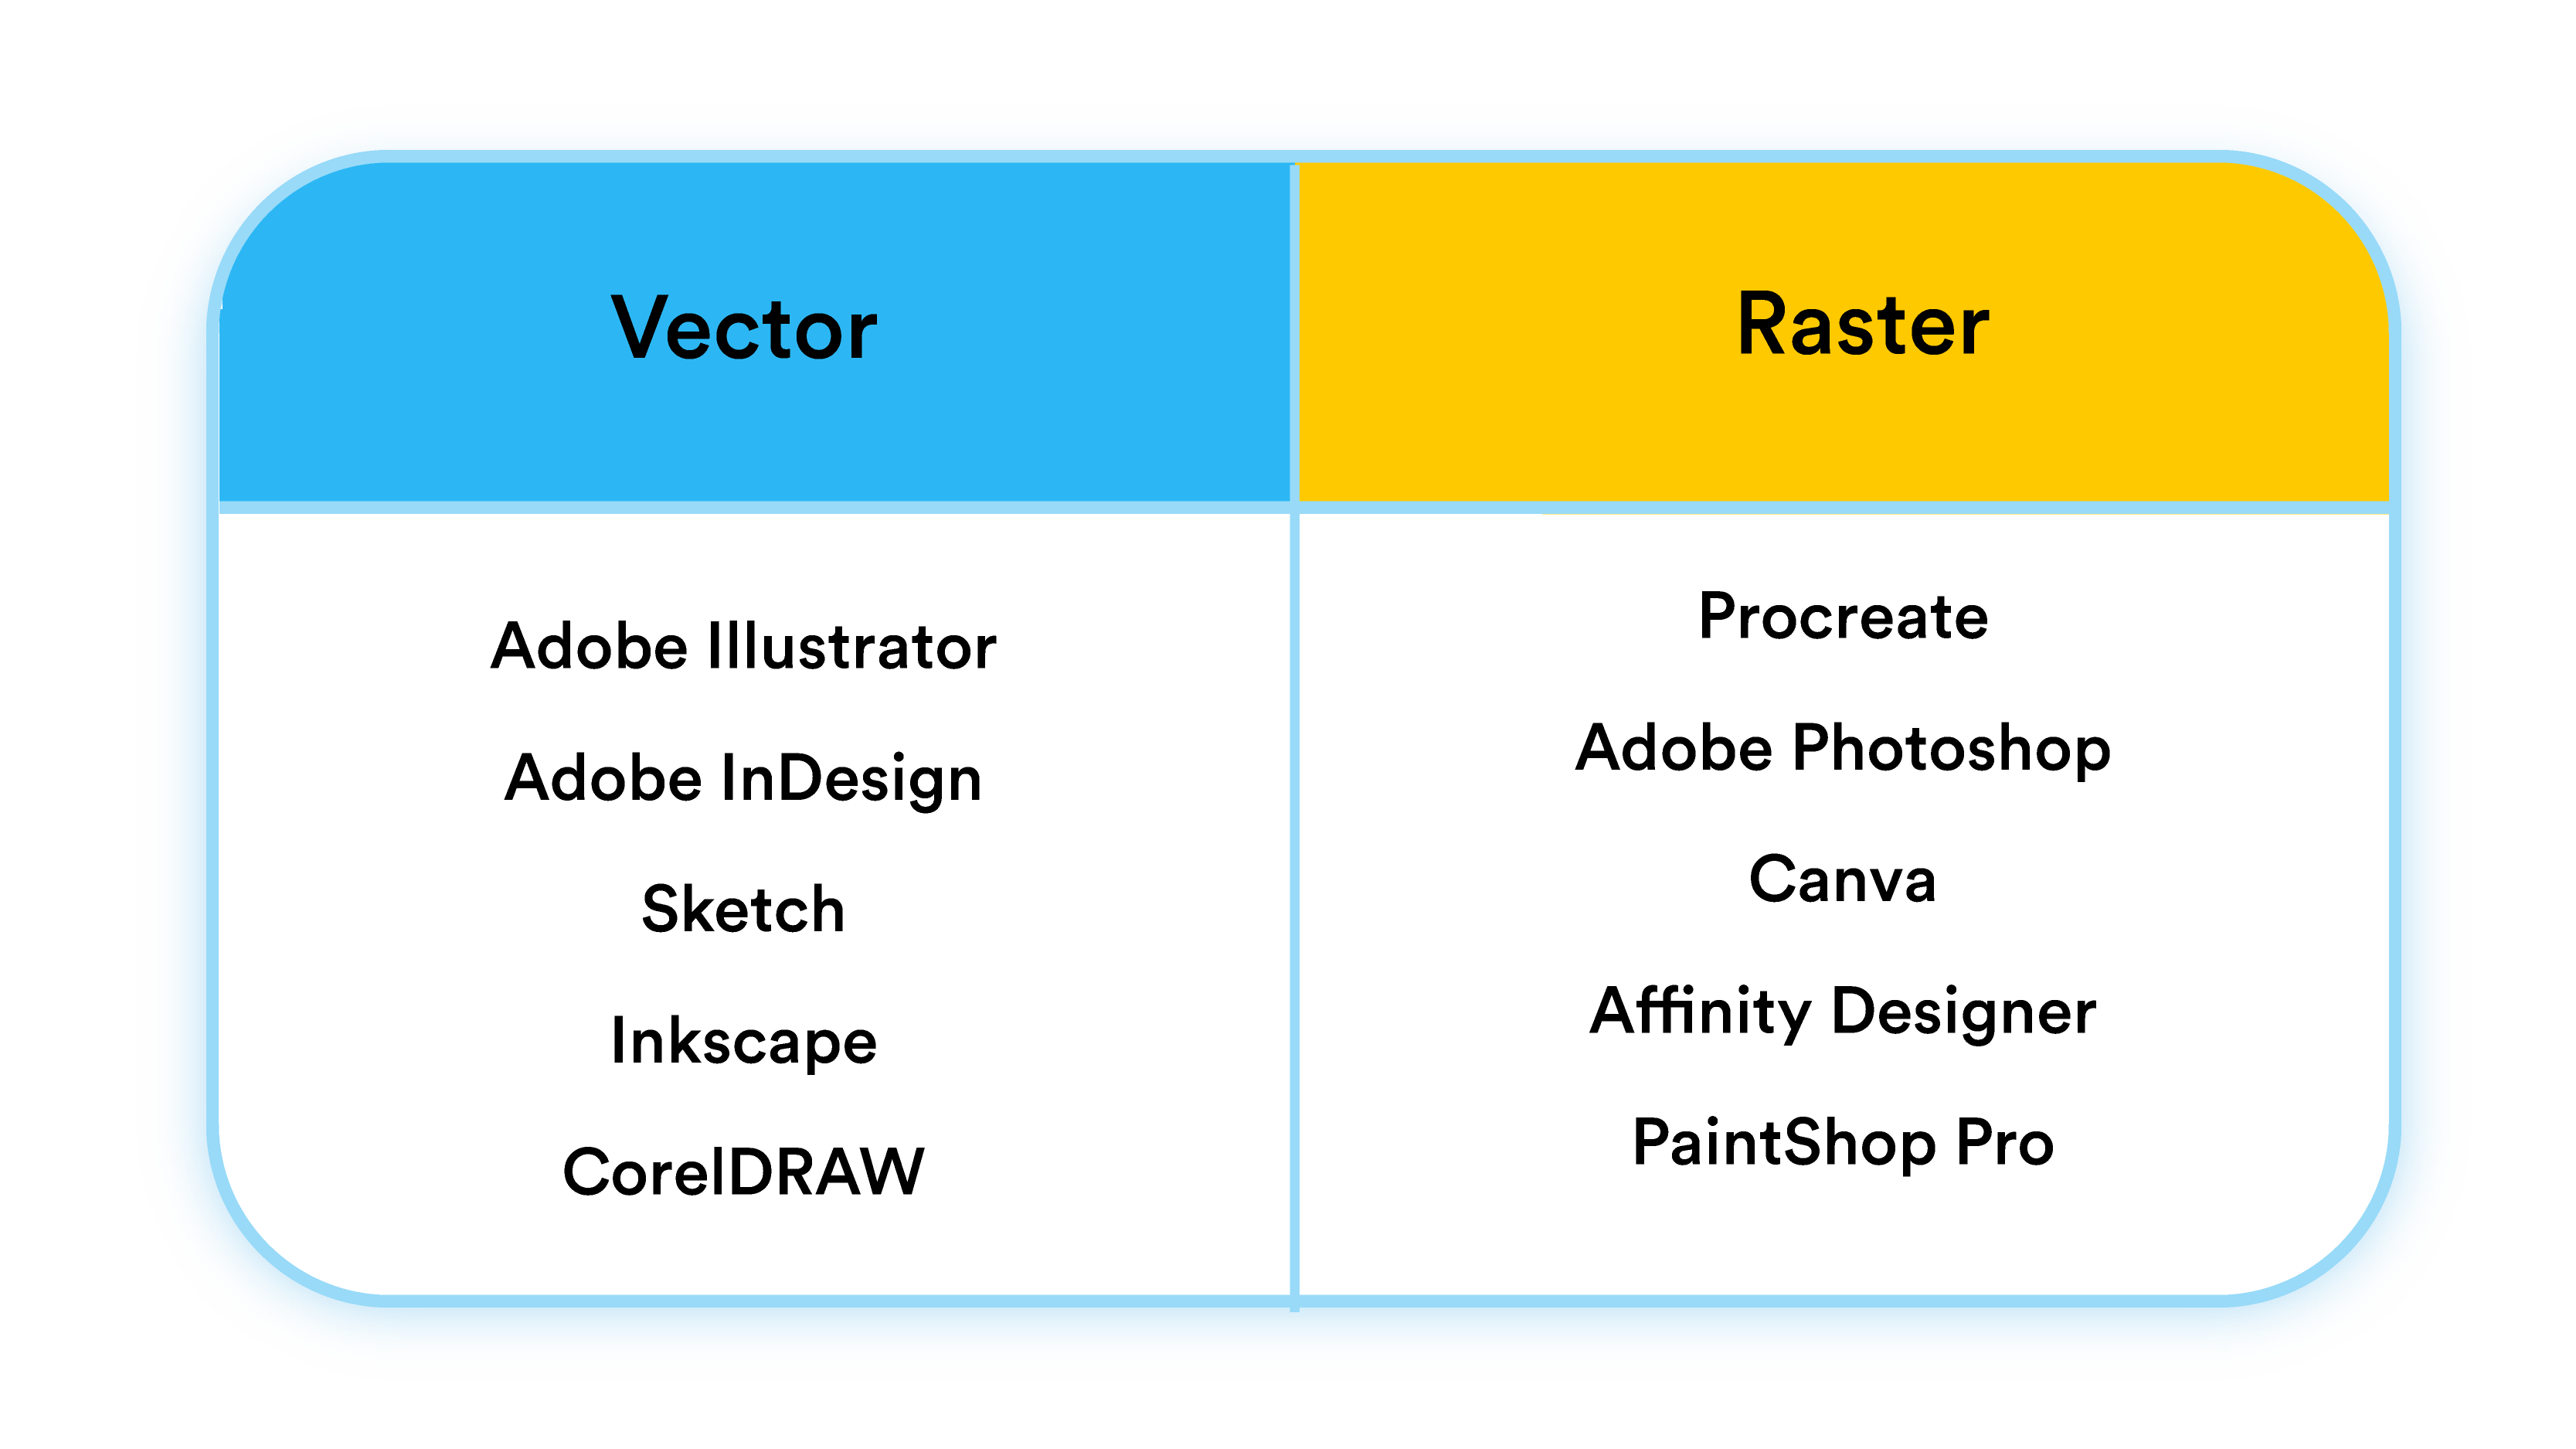
If you are creating and setting up your designs, first consider which type of program is best suited for your artwork. Refer to the chart below to determine whether your artwork is compatible with a vector or raster based program.
For those of you who aren’t super design savvy, don’t fret! We have a ton of pre-sized templates here for all of our products for you to use in getting started. These templates will be super helpful in setting you up on the right path.
Quality Check
Now that you have finalized your artwork, there are a few steps that you can proactively take to ensure that you're getting the maximum quality out of your artwork files when it comes time to export. Here is a check-list that we strongly suggest you incorporate into the final stage of your process.
✔ Check the Size of Your Design: Your artwork should be the same size as you want it to be printed. For sizing reference and guidance, utilize our pre-sized templates if you're unsure!
- Rule of thumb- it's always better to start with a larger size file and downscale a design, rather than starting with a small size file and enlarging the design. This is especially true, if you're working with design elements that were pulled from outside sources (Google Images, screenshots, etc).

Pay attention to how the edges of the graphic appear when zoomed in. If the art file is sized correctly and the edges look smooth then it’s good to go!
✔ Check the DPI (resolution) of your artwork. Our minimum dpi is 300, but the dpi only matters if you’re looking at the file at the intended final size.
In photoshop: Go to (Image > Image Size) and make sure that the DPI settings are set to least 300 & the box for ‘resample’ is unchecked.
- When enlarging the size of the original graphic, or increasing the original dpi for your artwork, this process is known as upscaling. The risk of doing this is that it will alter the size of the file, which can result in blurred or jagged edges.

(Left) 14x17" at 72 DPI, (Right) 14x17" at 300 DPI
✔ Check to see if your files are Vector.
When opening up your artwork files in Illustrator, click & drag your mouse over all of the design elements on your artboard. If all of the design elements appear with a blue outline, then your graphic files are in fact ‘vector’. *Note: You can bring rasterized elements into a vector program, but this doesn’t automatically make the elements ‘vector’ themselves.
- If your file elements are not vector, they will appear with a rectangular bounding box with an X through the middle of it. (See image below)
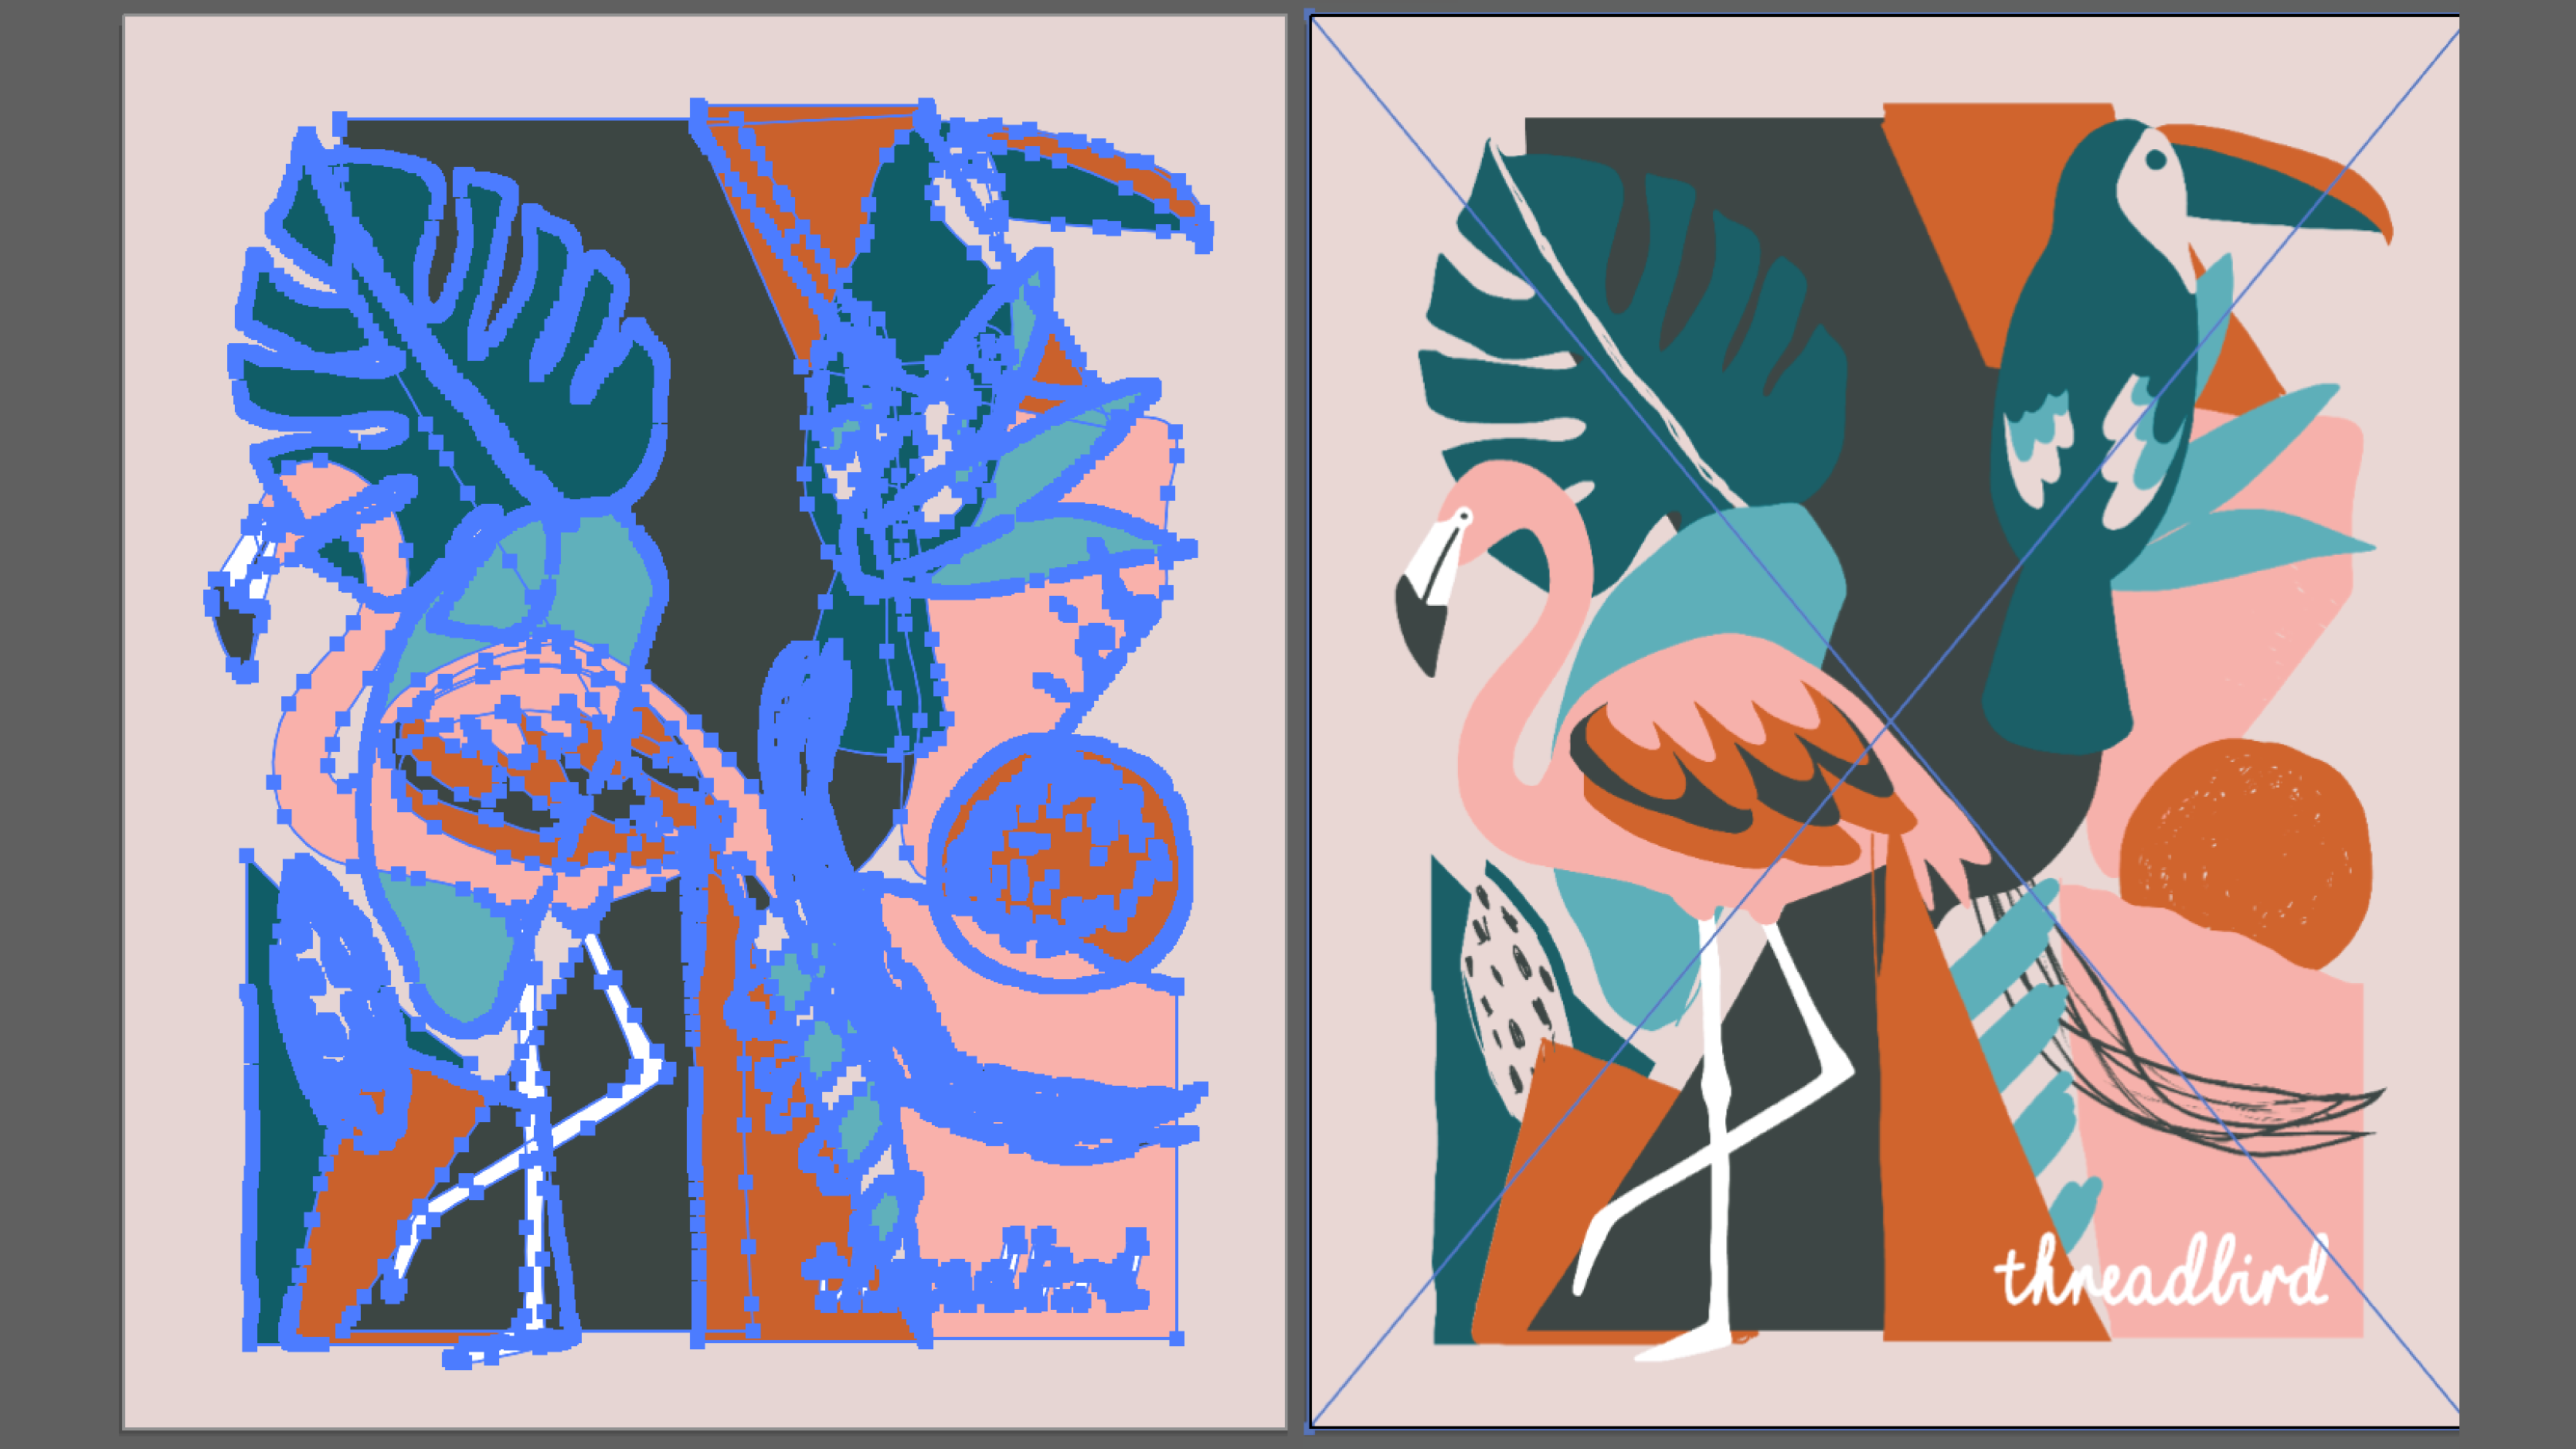
Vector (left) vs. Non-Vector (right)
Most design platforms offer several different format options for how to save your files. Exporting your art files with the proper settings ultimately saves our designers time and speeds up the turnaround time for your order! Depending on which program you use, we highly recommend that you export the files accordingly (See table above).
In following the steps we’ve just outlined, you can now feel confident that your artwork files are ready-to–print and will give you the best possible print outcome for your decorated products! To learn more about preparing your artwork files, visit our Help Center for more info!

Hey, It's Threadbird, here to be your expert guide with printing, apparel, and merch. Our brand has been in the custom merch game for 14+ years. We know the ins and outs of all of your favorite products. We are here to help your brand fly high with our knowledge and expertise!