Custom Merchandise Printing: How to Choose the Right Print Method for Custom Apparel
Your design looks perfect on screen. Then it shows up printed on a shirt, the colors are off, the ink feels like a plastic sticker, and it cracks after two washes. Now it's your name on that shirt, and your audience is the one asking for a refund.
That gap between "looks great in the mockup" and "holds up in real life" almost always comes down to one thing: the print method. Custom merchandise printing isn't a single process. It's several, and each one treats your design, your fabric, and your budget differently. Pick the right one and your merch becomes something people wear until it falls apart. Pick wrong, and it sits in a box. Let's break down your options, so you choose right the first time.
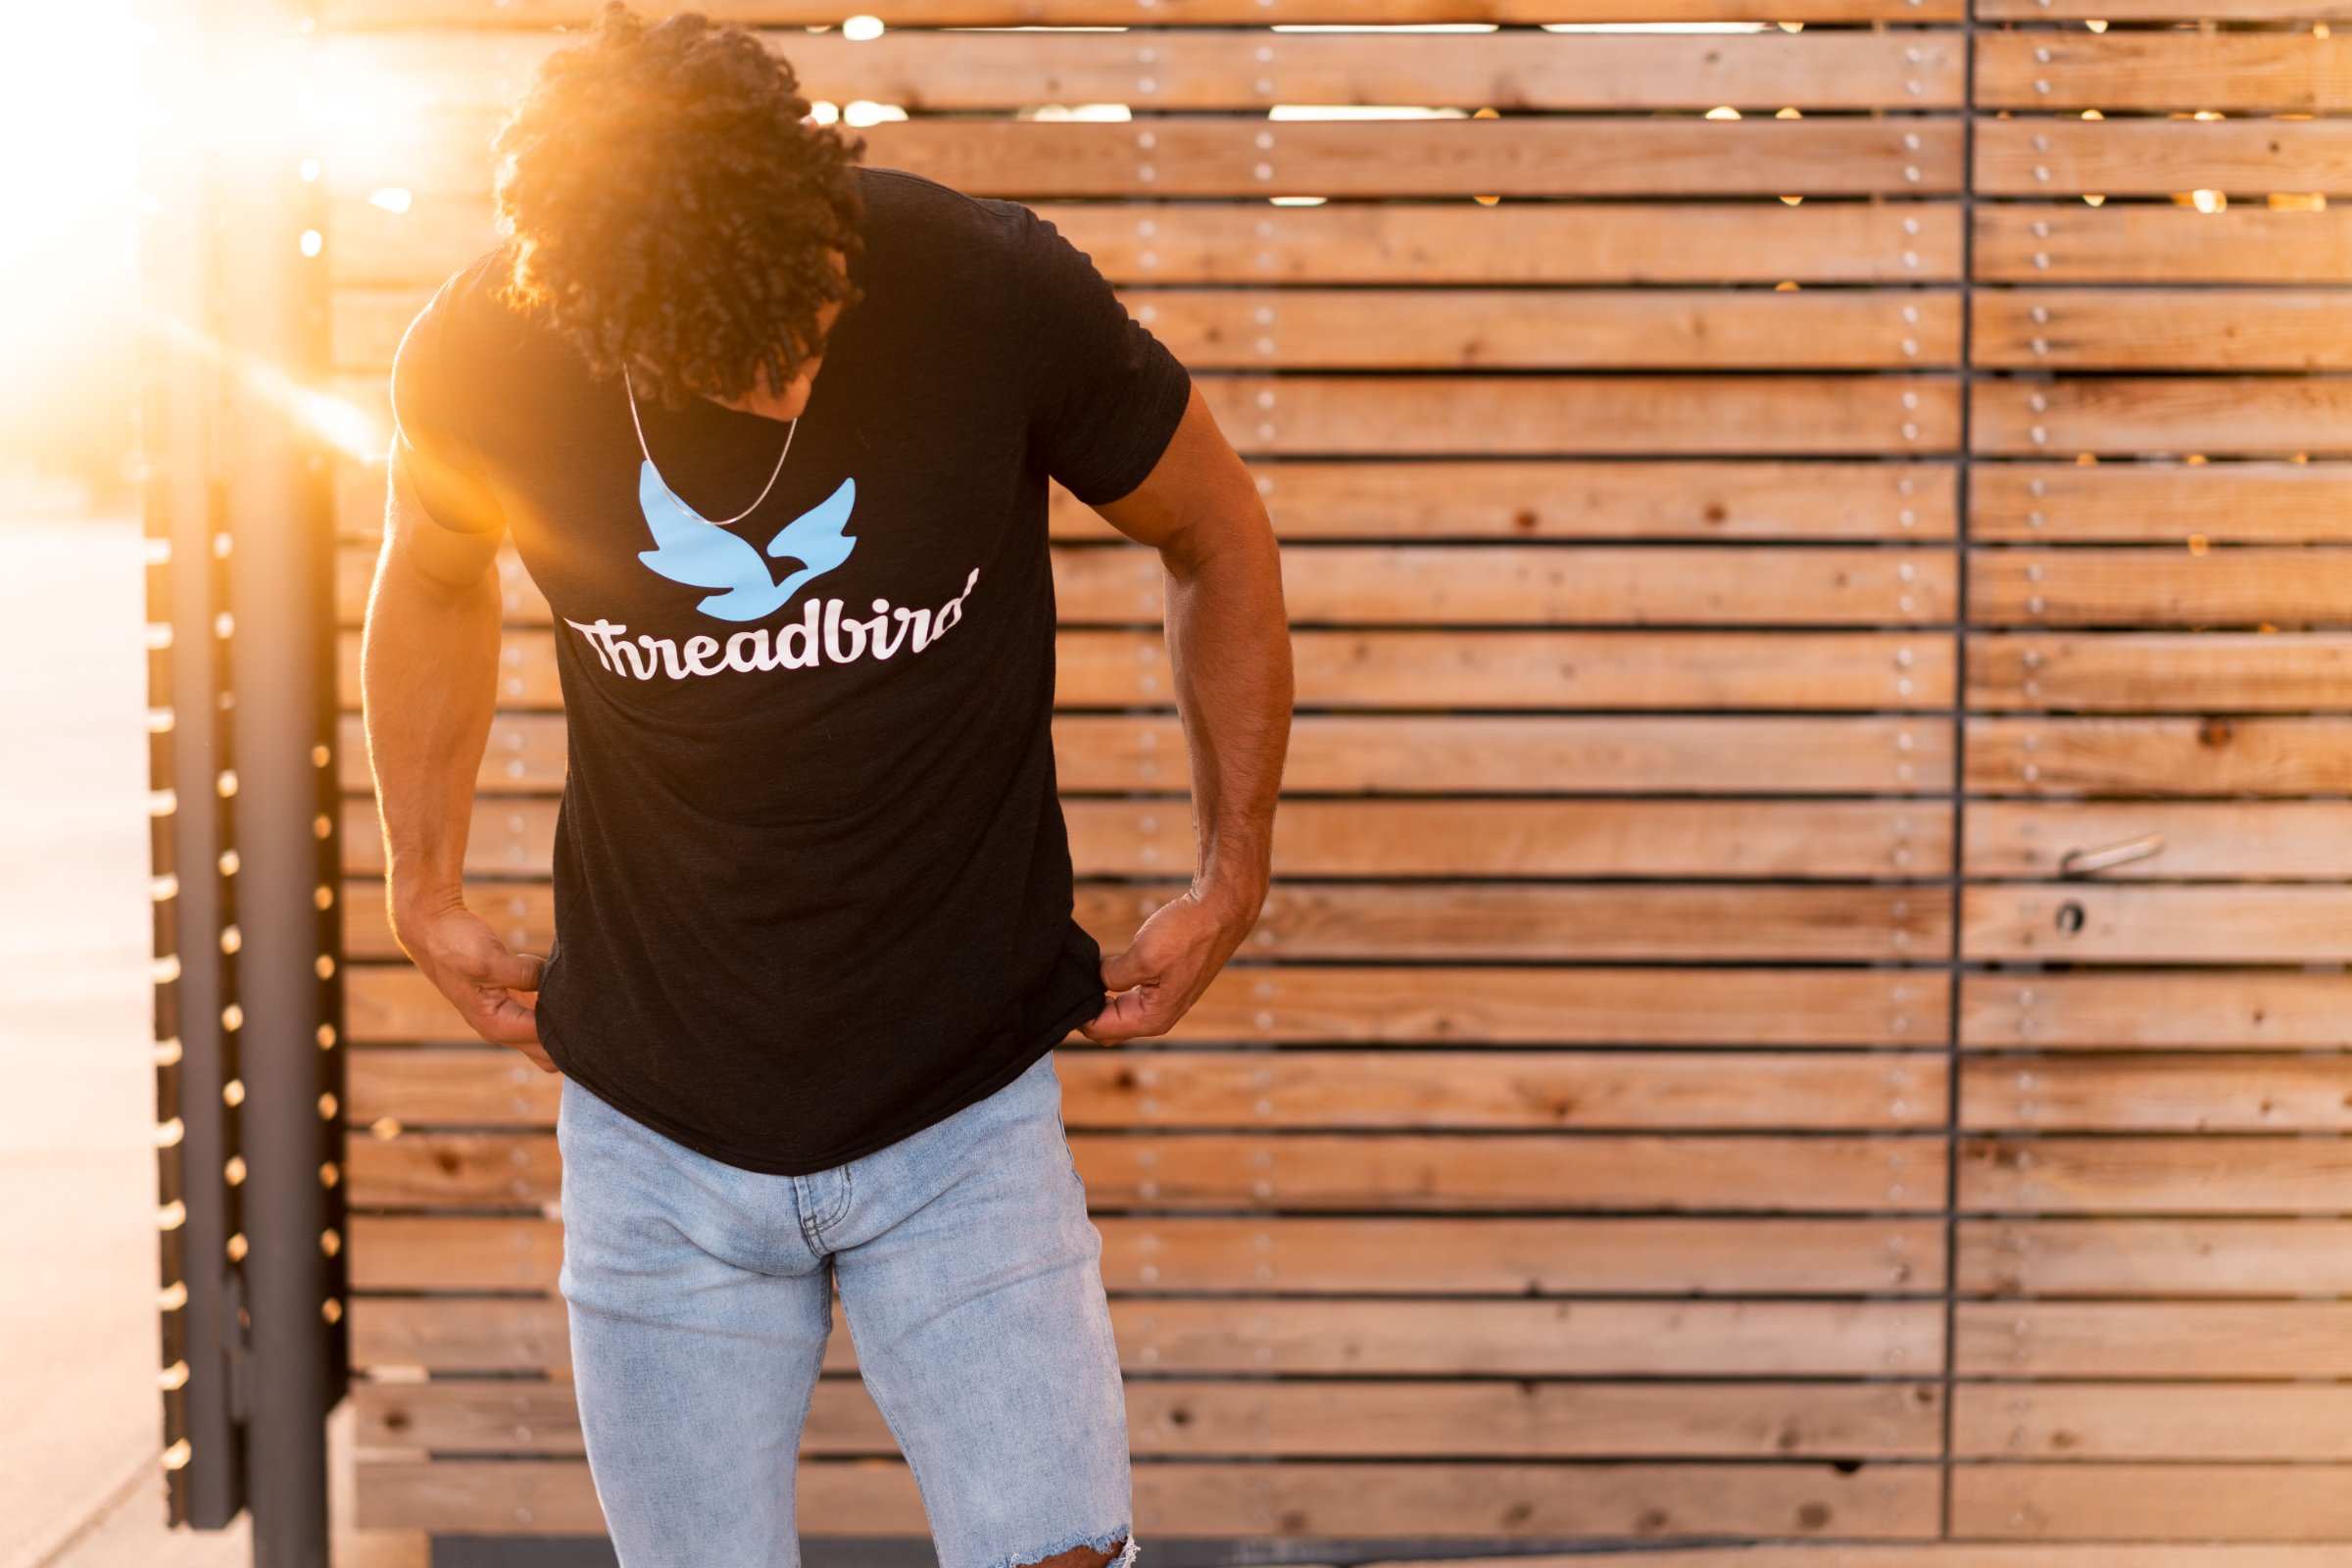
When you sell merch, you're not handing out freebies at a booth. You're selling a product with your name on it, and that raises the stakes.
If a print cracks or a color washes out, that's not a minor flaw. It's a refund request and a bad comment under your next post. The method decides how the merch feels, how the color holds, and how much each piece costs you to make. That last part matters, because thin margins can quietly sink a drop before it earns you anything.
Here's the thing: there's no single best method. The right call depends on your design, your order size, your fabric, and your budget. So let's walk through them.
Screen Printing: Best for Bold Designs and Bigger Runs
Screen printing is the gold standard for custom apparel, and for good reason. Ink gets pushed through a mesh screen onto the fabric, one screen per color. The result is opaque, bright, and genuinely built to last, the kind of print that still looks sharp after a year of wear.
It's the method behind most quality custom t-shirts, hoodies, sweatshirts, and tote bags you've owned and loved. When your design is bold and your order has some volume behind it, nothing else competes on durability or cost per piece. Because the setup cost spreads across the whole run, the more you order, the cheaper each one gets.
Not all screen printing uses the same ink, and the choice affects everything. A few worth knowing:
Plastisol ink: the classic. Sits on top of the fabric, gives bright, opaque colors, and holds up wash after wash. Great for bold logos and vivid designs.
Water-based ink: soaks into the fabric for a soft, almost printless feel. Perfect for a vintage, broken-in look on premium tees.
Discharge ink: removes the garment's dye and replaces it with a new color, so even dark shirts get a soft, natural finish.
The right ink is the difference between merch that feels cheap and merch people actually reach for. A good printer will steer you to the one that fits your design and fabric.
Where screen printing struggles is small batches and busy artwork. Every color needs its own screen, so a detailed, many-color design gets expensive fast, though simulated process printing can produce incredibly realistic photographic images.
Best for: bold designs, logos, and larger runs where quality and cost per piece both matter.
DTG (Direct-to-Garment): Best for Detailed, Full-Color Art
DTG works like an inkjet printer for clothing. It sprays ink directly into the fabric, so it handles what screen printing can't do cheaply: gradients, fine linework, a dozen colors in one design. No per-color setup, no minimum, and you can order a single shirt.
That's why every print-on-demand platform runs on DTG, and it's the cheapest way to find out whether anyone wants a design before you spend money on inventory.
The catch is quality control. Doing DTG well takes time on every single shirt, especially on dark garments. Print-on-demand shops run thousands of different orders a day and optimize for throughput, so nobody is dialing in your artwork on your specific blank. Colors drift from what you approved and opacity comes out soft.
Cost doesn't improve with scale either. DTG runs about the same per shirt at 10 units or 10,000. There's no volume break.
Best for: proving a design has demand. Once it's proven, print it properly.
DTF (Direct-to-Film): Best for Versatility Across Fabrics
DTF prints your design onto a film, then heat-presses it onto the garment. No screens, no setup, and the color count doesn't change the price. That makes it the best option for a small run of something full-color, where screen printing would charge you for every color in the design.
The thing to understand about DTF is that print size drives everything. It's priced by the area of the film, so a big front print costs real money. And the design sits on top of the fabric instead of in it, so the bigger the print, the more it feels like a sticker on the shirt.
That's why DTF is at its best on smaller artwork, and on designs that break up rather than sit as one solid block. Line work, texture, and open space let the shirt move and breathe through the print. A big solid area is where DTF feels worst and costs most.
Best for: small orders with a lot of colors, and designs that aren't large solid blocks.
Embroidery: Best for a Premium, Lasting Look
Embroidery doesn't use ink at all. Your design gets stitched right into the fabric with thread, which is exactly why it reads as premium the moment someone touches it.
For logos, embroidery is often the best method for custom logo apparel. An embroidered logo on a hat or a stitched lettermark on a jacket carries a weight a flat print just can't match. It signals quality, it lasts basically forever, and it's a genuinely good way to set yourself apart from the crowd of creators running the same generic tee.
A few styles worth knowing:
Flat embroidery: the standard. Thread stitched flat against the fabric, clean and sharp. Ideal for detailed logos and text.
3D embroidery: foam sits under the thread to raise the design off the surface. Bold and eye-catching, especially on caps.
3D + flat combined: part of the logo pops, part stays flat for detail. This is how you get a hat that looks genuinely custom.
The honest trade-off: embroidery is priced by stitch count, so big or dense designs cost more, and tiny text can get lost in the thread. Keep the design clean and it looks incredible.
Best for: logos, hats, polos, and premium pieces you can price higher.
How to Choose: Match the Method to Your Merch
You don't need to memorize all this. Just match the method to what you're making:
Bold design in one to three colors? Screen printing, especially for bigger runs.
A logo, especially on hats or premium gear? Embroidery, hands down.
Full-color or detailed art in a small run? DTF, as long as the print isn't huge.
Testing a new idea before you commit? DTG or print on demand, then move the winners to screen printing once they sell.
Big run of the same design? Screen printing wins on cost per piece.
And a move a lot of creators miss: mix methods across your lineup. Screen-printed tees, embroidered caps for the premium tier, DTF for the small-batch pieces with a lot of color. Different methods at different price points give your audience more reasons to buy.
Getting Your Merch Made Right
Here's what it all comes down to. There's no universal best method in custom merchandise printing, only the best one for your design, your order size, and your budget.
Screen printing for bold, high-volume drops. Embroidery for logos and premium gear. DTG and DTF for detailed art and smaller, mixed runs. Match the method to the merch and you're most of the way there.
The rest is execution, which is where a partner that handles merch production end to end earns its keep, handling the technical side so you can focus on the design and your audience. Get the match right, and your merch becomes something people actually want to wear.